Bulk import users from CSV
CSV import is the fastest way to onboard hundreds of users at once. This article covers the file format, the import step and how to reconcile failures.
Before you start
You need the Admin role and email delivery configured. Every imported row becomes an invitation.
Step 1 — Prepare the CSV
Your file needs at minimum an email, firstName, lastName and role column. Optional columns include branch, groups (comma-separated names), jobRole, and any custom fields your tenant has defined. Save as UTF-8 CSV — Excel's default encoding often breaks non-ASCII names.
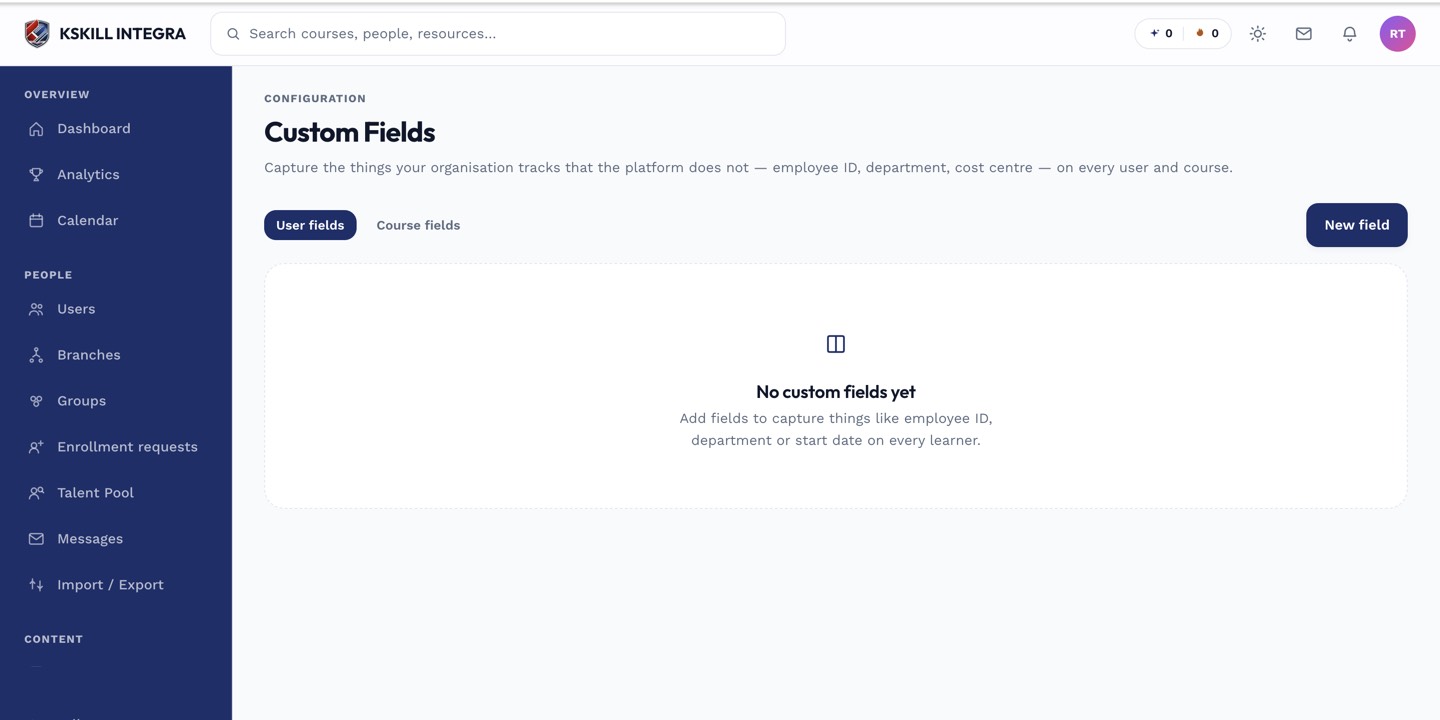
Custom fields extend the built-in profile so you can capture the columns your CSV imports need.
Step 2 — Upload and preview
Open People → Users and click Import CSV. Drop the file. The platform parses it and shows a preview grid — check the column mapping, spot-check a few rows, and confirm. Every row is invited in the background.
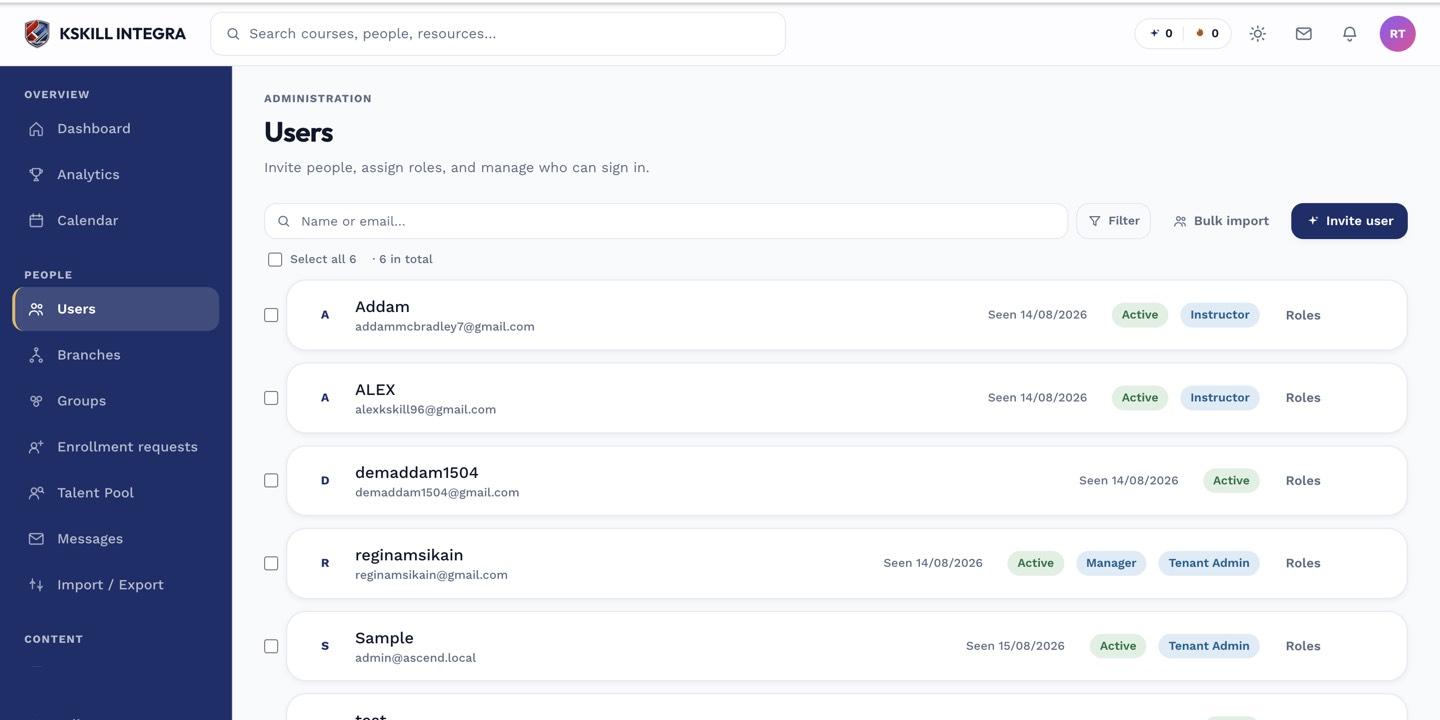
The Users list is the entry point for every person-related admin task.
Step 3 — Reconcile failures
After the run finishes, a summary card shows how many succeeded and how many failed. Click Download error report to get a CSV of failed rows with an explanation column — usually duplicate emails or invalid role names. Fix and re-upload only the failed rows.
The Users list is the entry point for every person-related admin task.
Notes
- Duplicate emails are ignored (not overwritten) — existing users keep their profile.
- Custom fields require exact column names matching what you defined in Settings.