Export reports to CSV
Every report on the platform can be exported as CSV or PDF. This article covers where the button is and how scheduled exports work.
Before you start
You need the Admin or Instructor role. Scheduled exports require email delivery to be configured.
Step 1 — One-off export from any panel
Every panel on the analytics dashboard has an export icon in its top-right. Click it, pick CSV or PDF, and the file downloads within seconds. The CSV uses tab-separated UTF-8 with a header row, so it opens cleanly in Excel and Sheets.
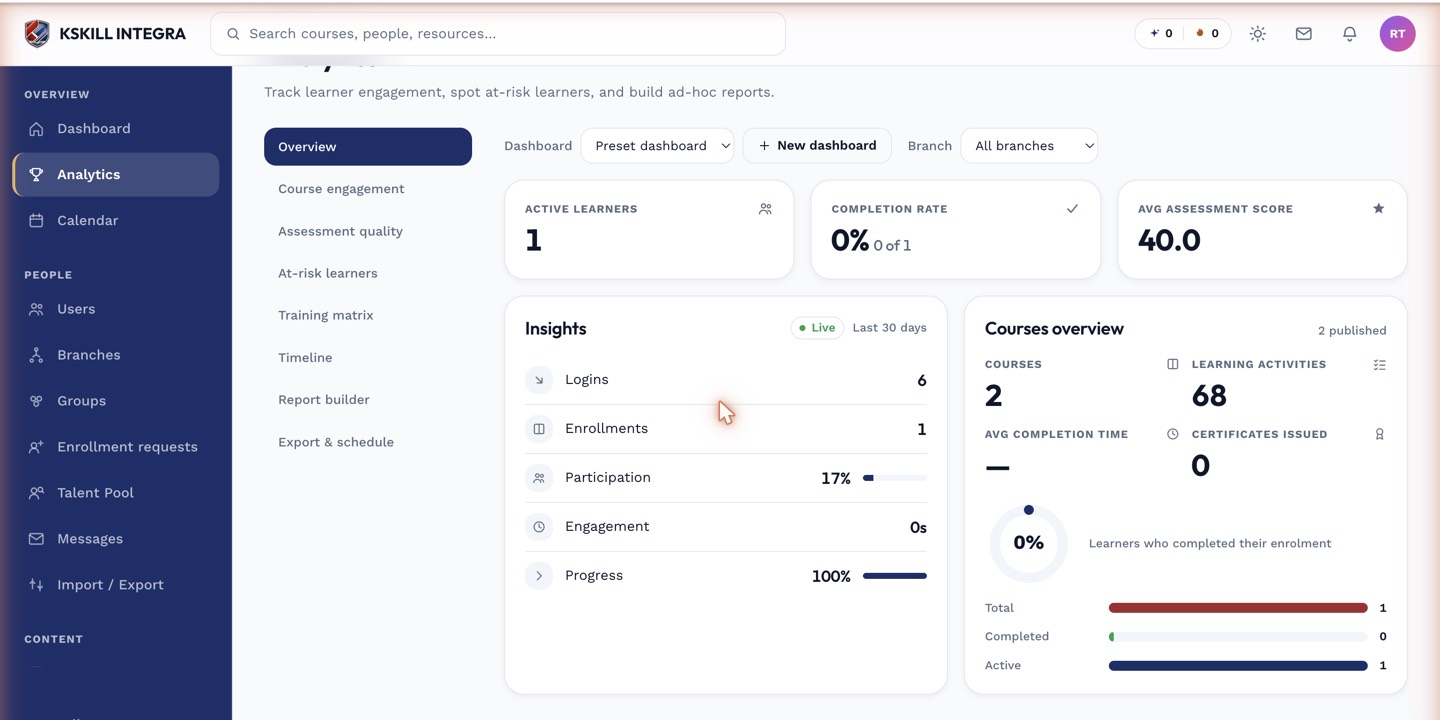
The detail panels give you the breakdown behind each KPI tile.
Step 2 — Recurring exports via schedule
Open the Export & schedule tab on the analytics dashboard. Pick a report, pick a cadence (daily, weekly, monthly), and add the email addresses that should receive it. The platform emails a fresh CSV attachment on the schedule — no logins required for the recipient.
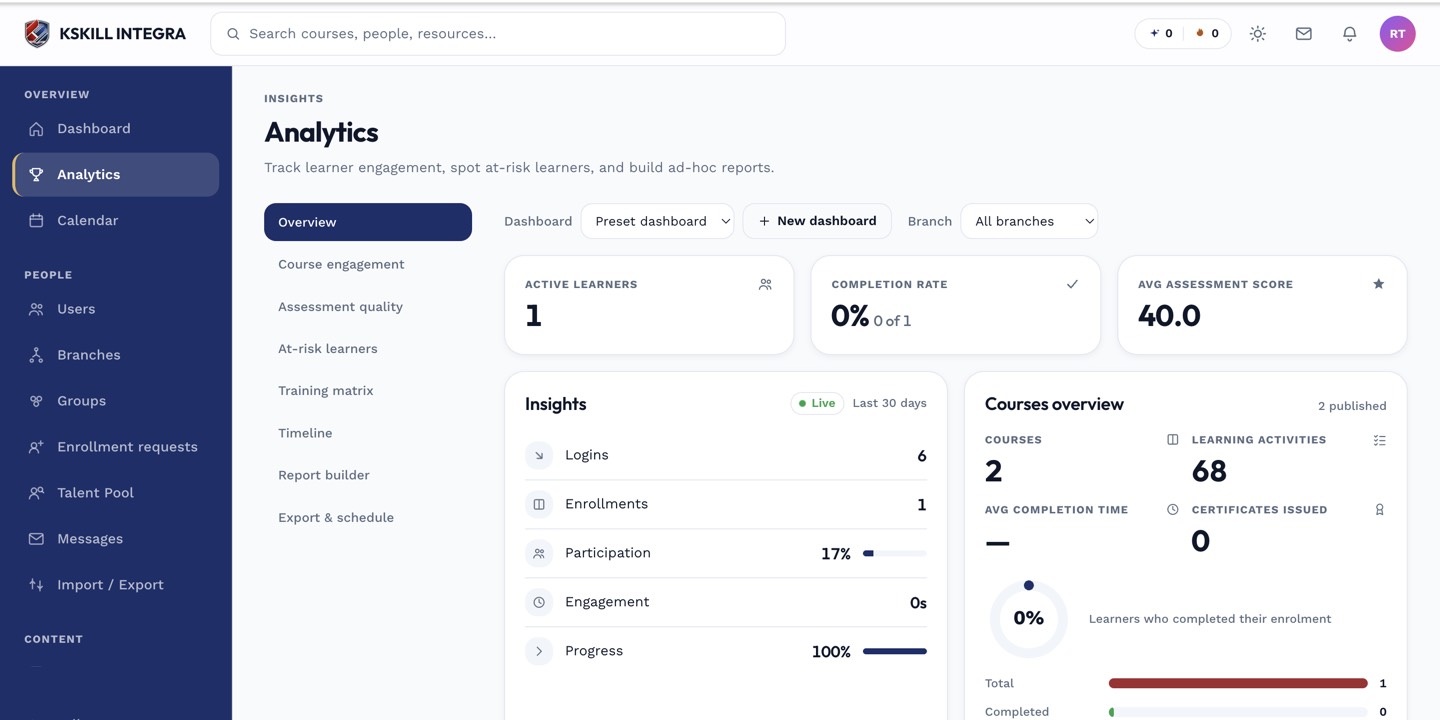
The Overview tab is the one everyone lives in — the deeper tabs answer sharper questions.
Step 3 — Reconcile CSVs against your BI tool
For teams with their own data warehouse, use the Reports API instead of email — it returns the same rows over HTTPS with a token, ready to pipe into BigQuery or Snowflake. See the API docs article for details.
The detail panels give you the breakdown behind each KPI tile.
Notes
- Exports are branch-scoped for instructors and unrestricted for admins.
- Scheduled exports honour the recipient list at send time, not at schedule time — add new stakeholders any time.