Configure SSO with Okta
This article covers configuring SSO with Okta as your identity provider.
Before you start
You need the Admin role on the LMS and admin access to your Okta tenant.
Step 1 — Copy the LMS SP metadata
Open Configuration → Settings → SSO and copy the Service Provider metadata URL. You paste this into Okta's SAML app config.
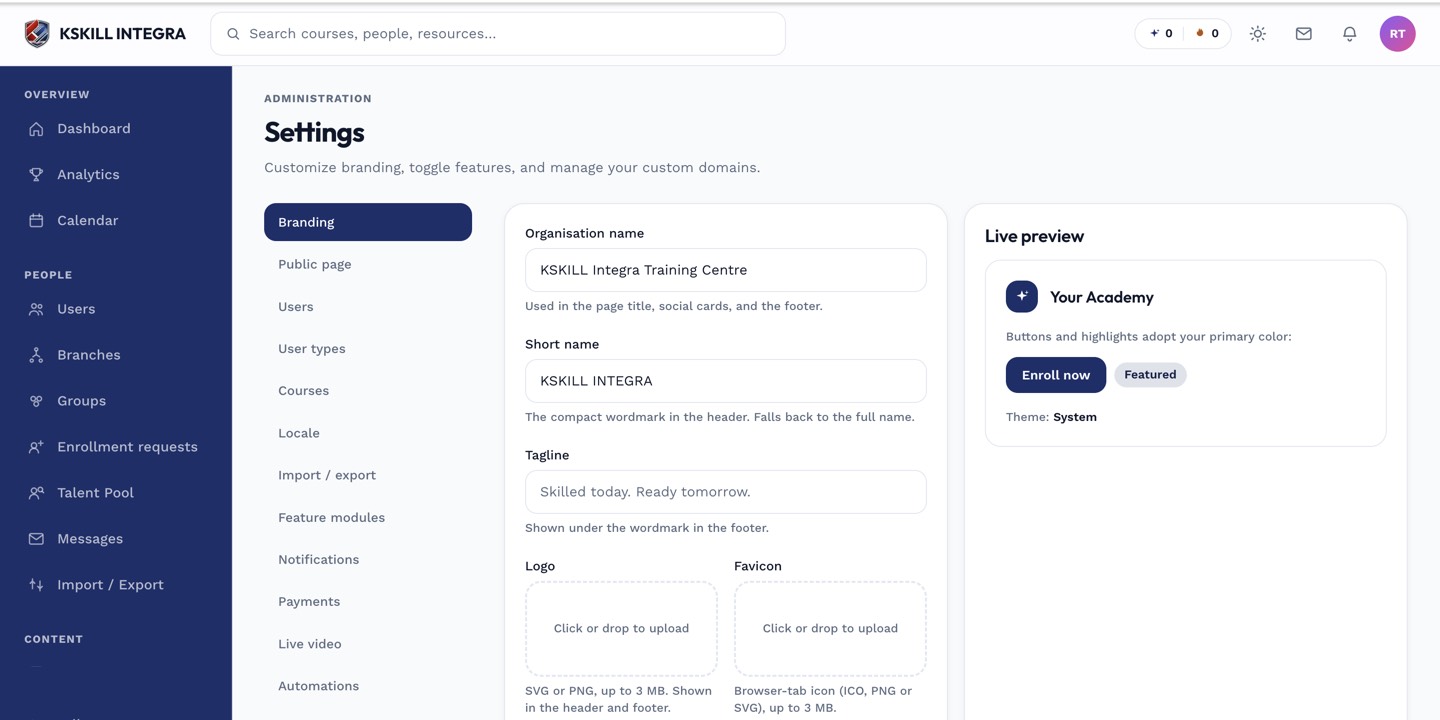
The Settings page is the single home for every tenant-level toggle.
Step 2 — Create the Okta app
In Okta, add a new SAML 2.0 application. Paste the SP metadata URL. Map attributes — email, firstName, lastName, role. Assign the app to a test group first. Save and download the Okta metadata XML.
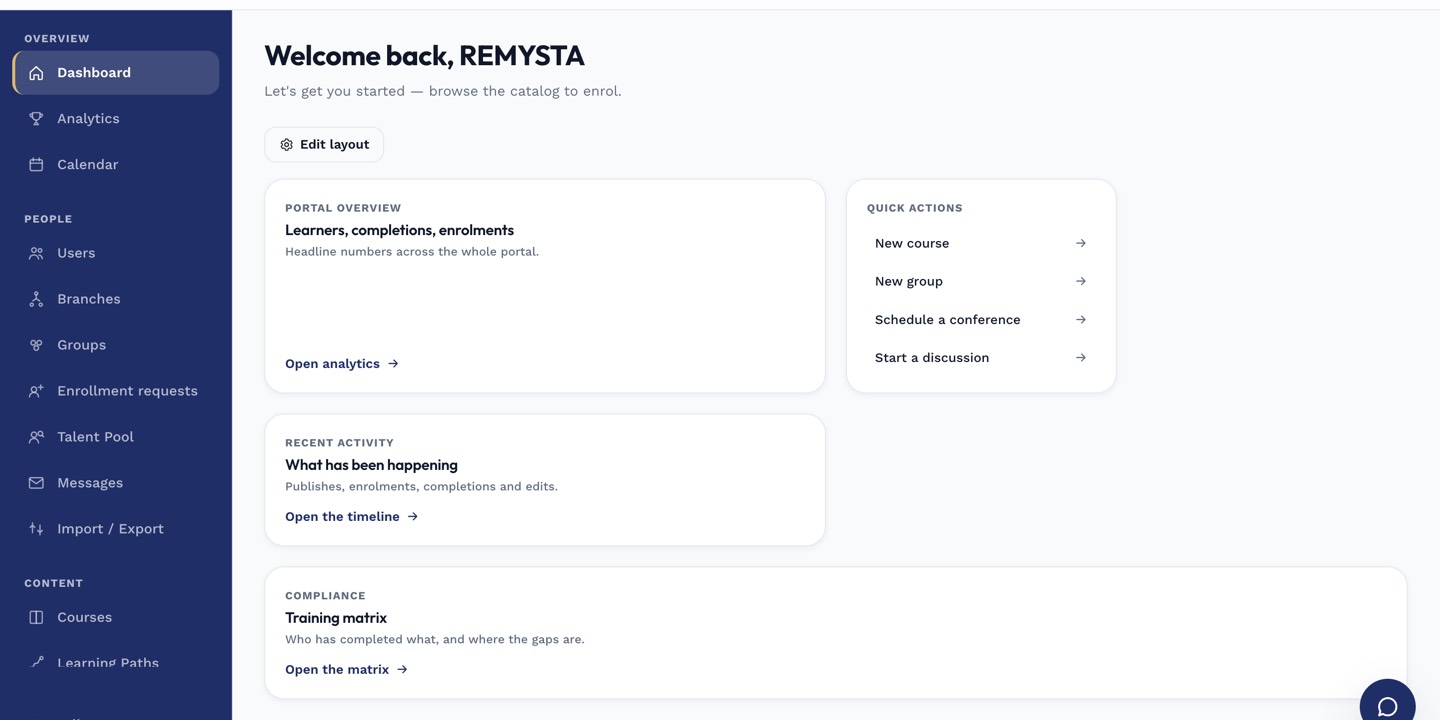
The left rail is the anchor for every admin task; every screen you visit starts with a click here.
Step 3 — Wire the IdP metadata back
Back on the LMS SSO page, upload Okta's metadata XML and save. Click Test SSO — the platform runs a round-trip and shows the attributes it received. When happy, flip Require SSO on.
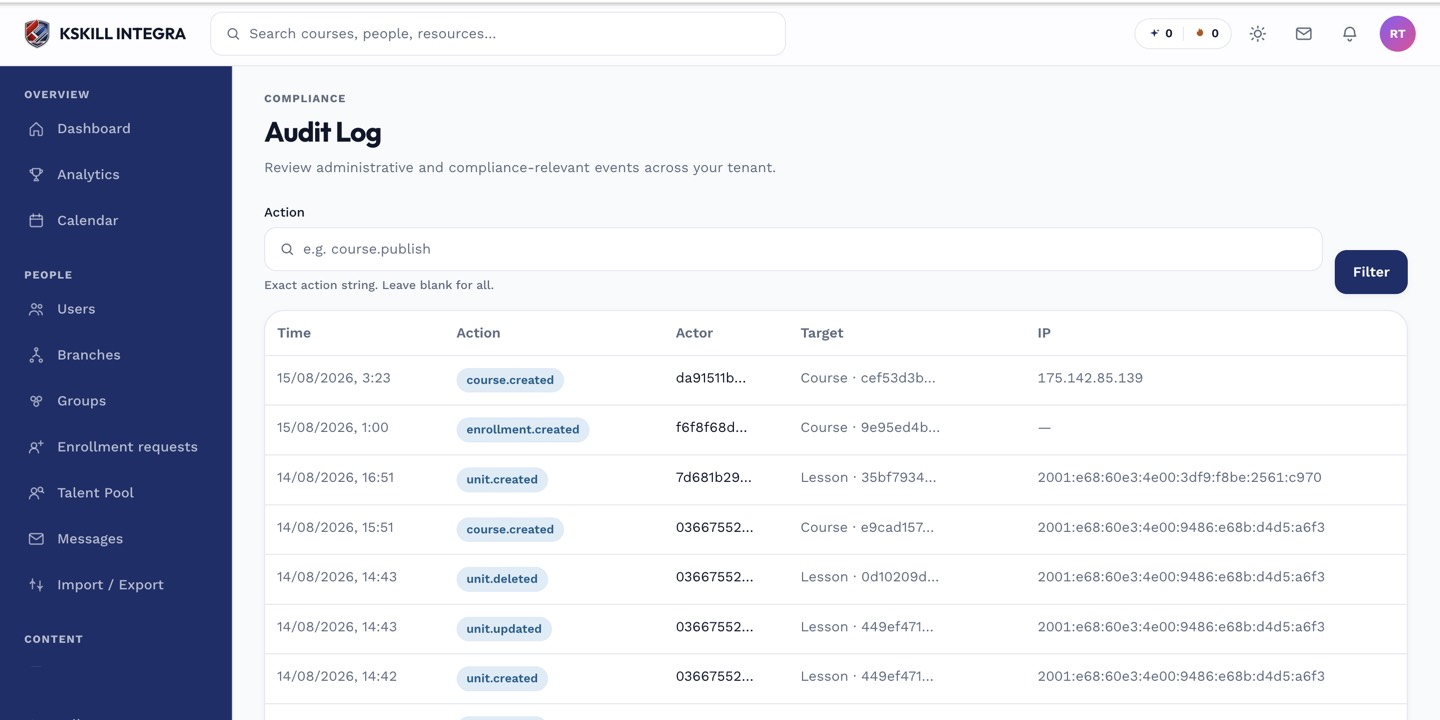
The audit log is your immutable record of who did what.
Notes
- For SCIM provisioning from Okta, use the separate SCIM article — SSO handles authentication only.
- Test with a non-admin account first so a broken config doesn't lock you out.