Public certificate verification
Every certificate carries a verification code that a third party can validate. This article covers how the verification page works.
Before you start
Anyone can validate a code — no sign-in required. Admins configure the verification page URL.
Step 1 — Find the verification code
Every certificate PDF shows a short code on the front. The code encodes the tenant, course and completion date. Recruiters and auditors use this code to confirm the certificate is real.
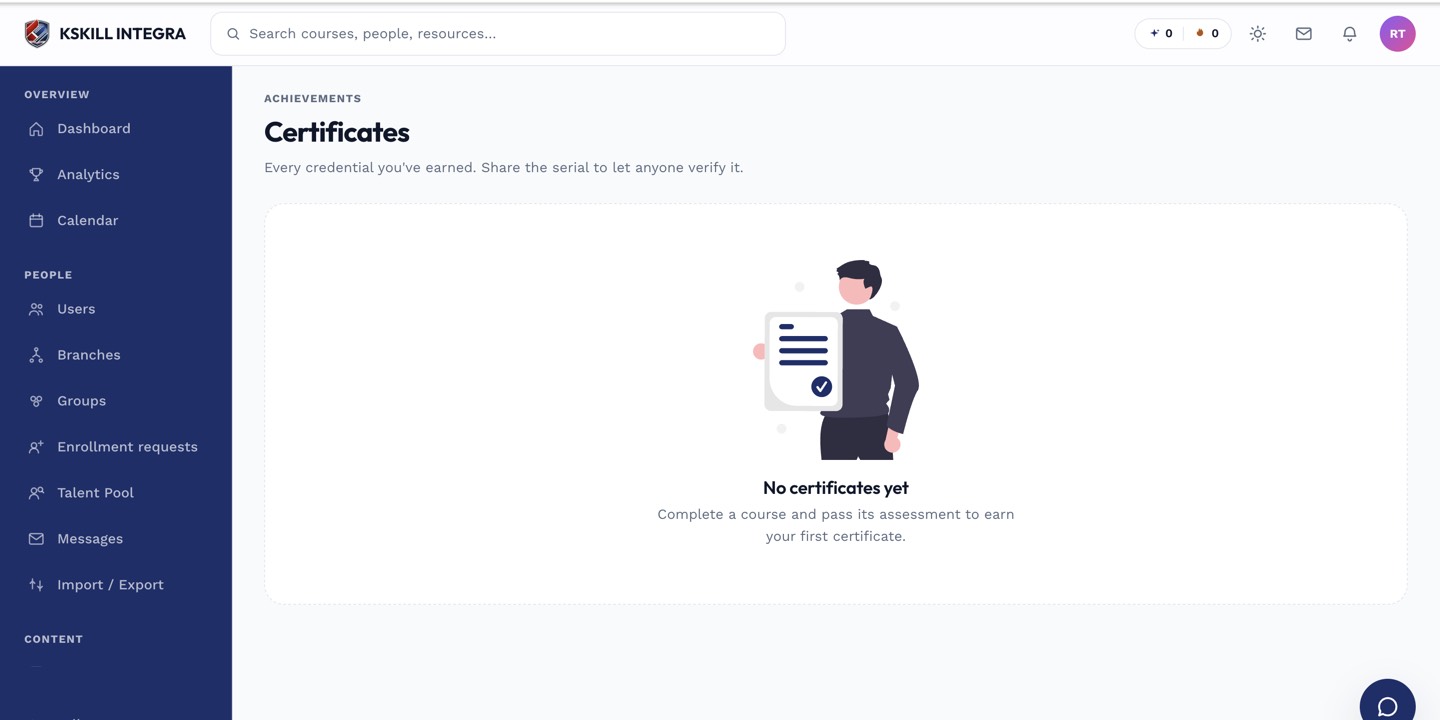
Certificates land here the moment a learner completes the course that issued them.
Step 2 — Verify via the public page
The public verification page URL is displayed on the tenant's branded footer. Anyone can paste a code and see: learner name (public), course name, issue date, expiration, and pass/fail state. Verification never exposes personal data beyond the name.
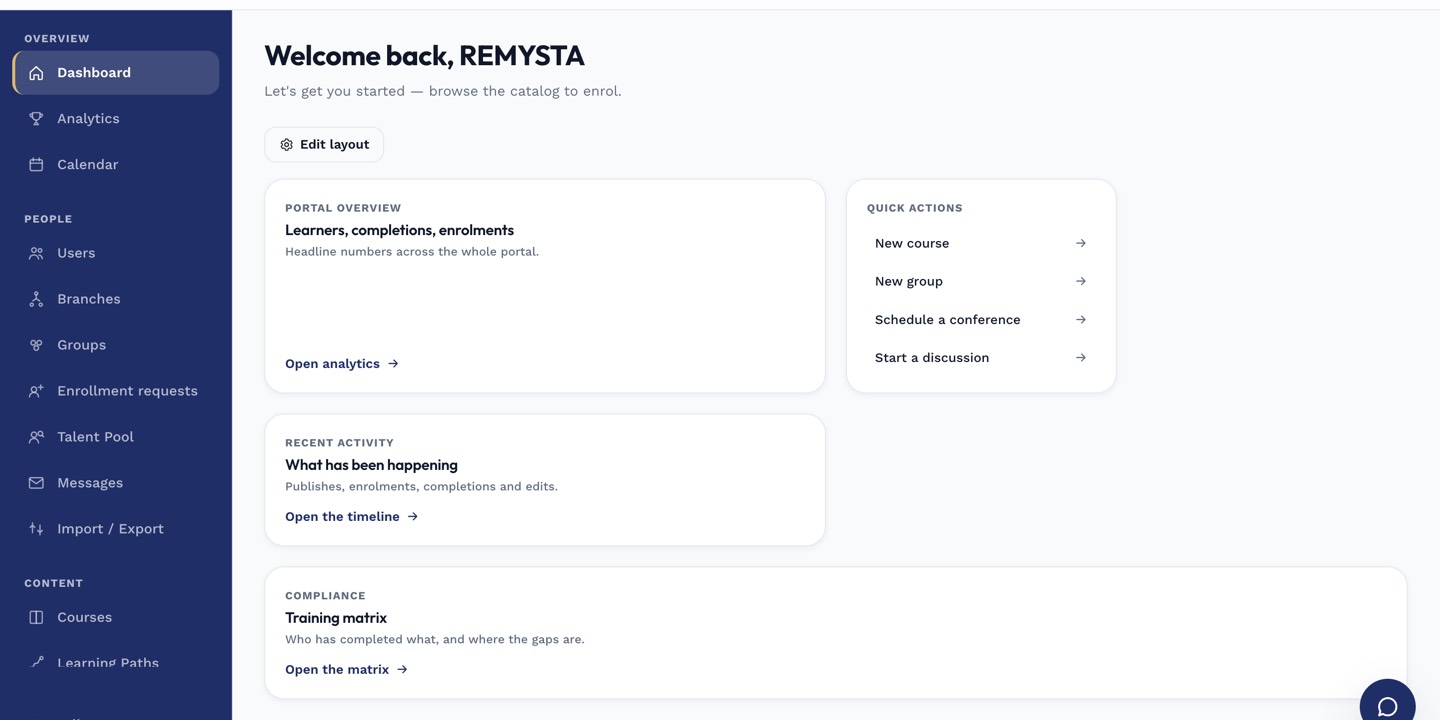
The left rail is the anchor for every admin task; every screen you visit starts with a click here.
Step 3 — Handle a failed verification
If a code doesn't resolve, the certificate is either expired, revoked, or forged. Failed verifications show a clear message and don't leak any information. Learners with expired certificates should retake to renew.
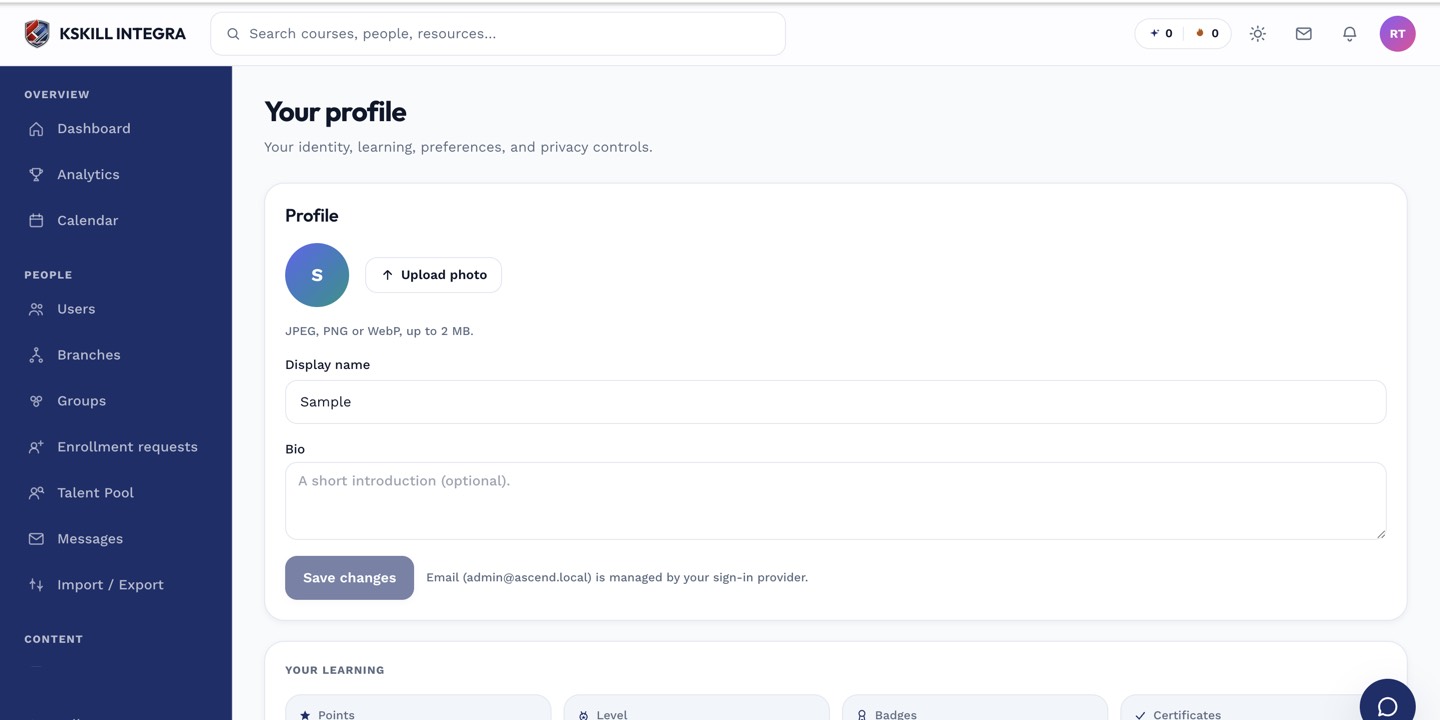
The account settings page is where a learner controls their own personal data.
Notes
- Verification never authenticates the checker — it's an open endpoint by design.
- Point recruiters at the verification page URL on every certificate.