Configure SSO (SAML basics)
SSO (Single Sign-On) lets your users sign in with their existing corporate account. This article covers configuring SAML at the tenant level.
Before you start
You need the Admin role and admin access to your identity provider (IdP). SAML support is on for every tenant by default; you only supply the connection.
Step 1 — Grab the SP metadata
Open Configuration → Settings and pick SSO. Copy the Service Provider metadata URL — you paste this into your IdP so it knows where to send SAML responses.
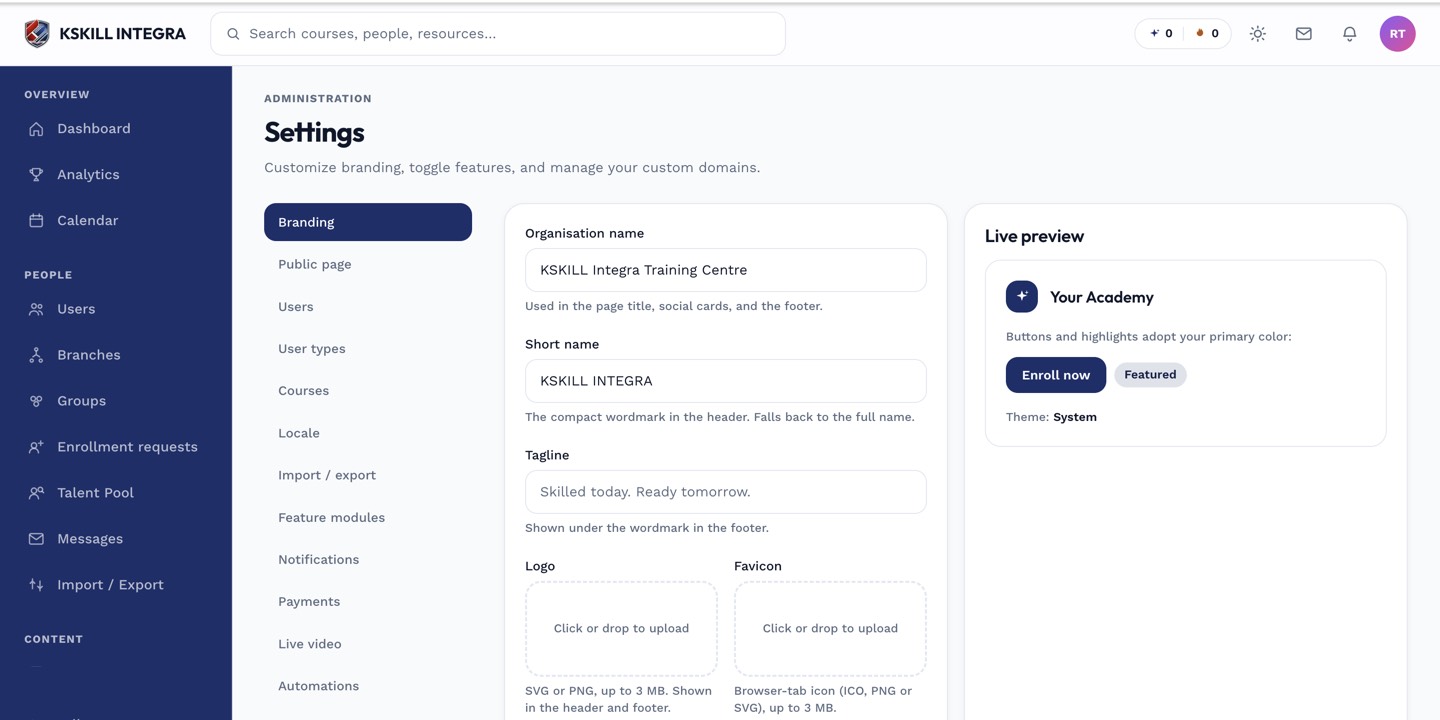
The Settings page is the single home for every tenant-level toggle.
Step 2 — Configure the IdP side
In your IdP (Okta, Azure AD, ADFS), create a new SAML application. Paste the SP metadata URL. Map the standard attributes — email, firstName, lastName, role. Save and download the IdP metadata XML.
The Settings page is the single home for every tenant-level toggle.
Step 3 — Wire the IdP metadata back
Back on the LMS SSO page, upload the IdP metadata XML. Save. Test with a real IdP account by clicking Test SSO — the platform runs a full round-trip and shows the attributes it received. When it works, flip Require SSO on to disable password sign-in.
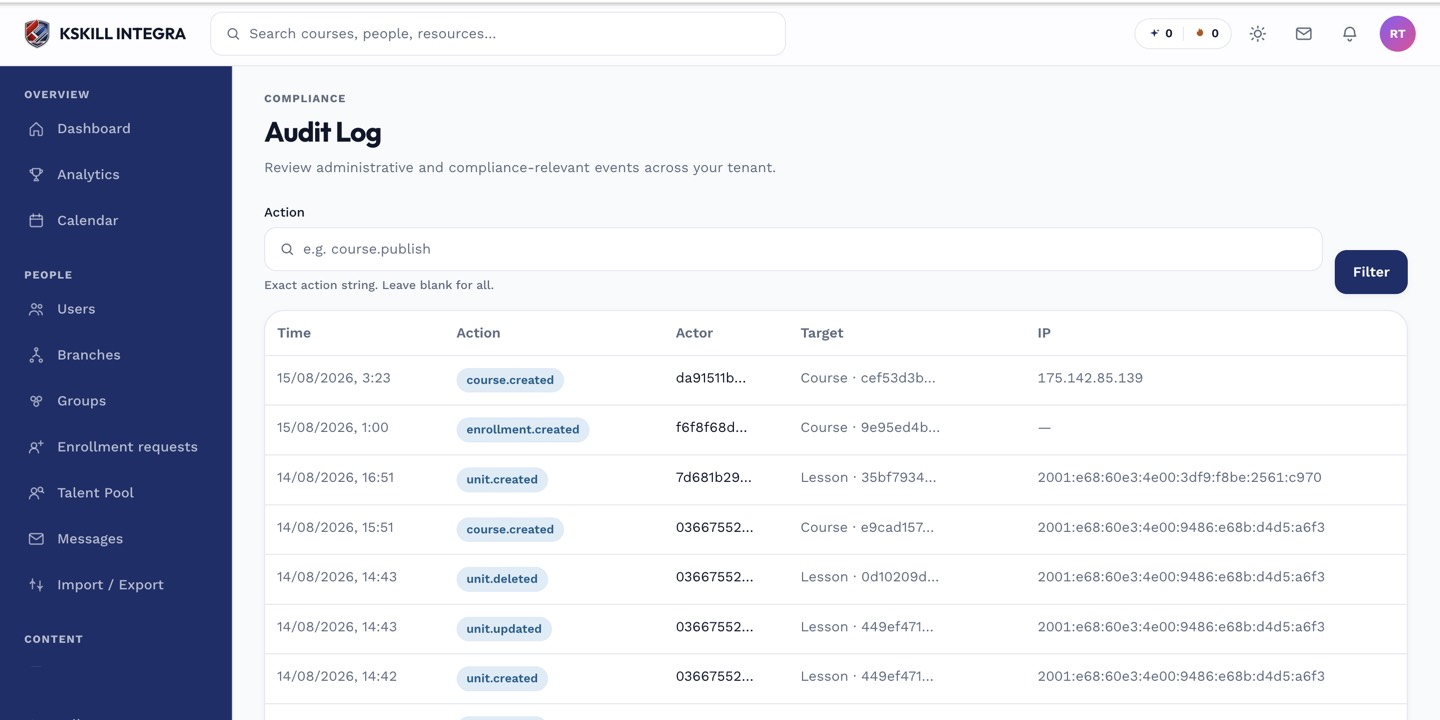
The audit log is your immutable record of who did what.
Notes
- For per-provider guides, see the Okta and Azure AD articles.
- SCIM is a separate feature — SSO handles authentication only, SCIM handles user provisioning.