Data retention policy
The retention policy decides how long records survive after they become inactive. This article covers configuring it.
Before you start
You need the Admin role. Changing retention is auditable and irreversible for already-deleted records.
Step 1 — Open Retention
Open Configuration → Settings and pick Data retention. The page lists each category — timeline events, deactivated users, unenrolled learners, message attachments — with its current retention window.
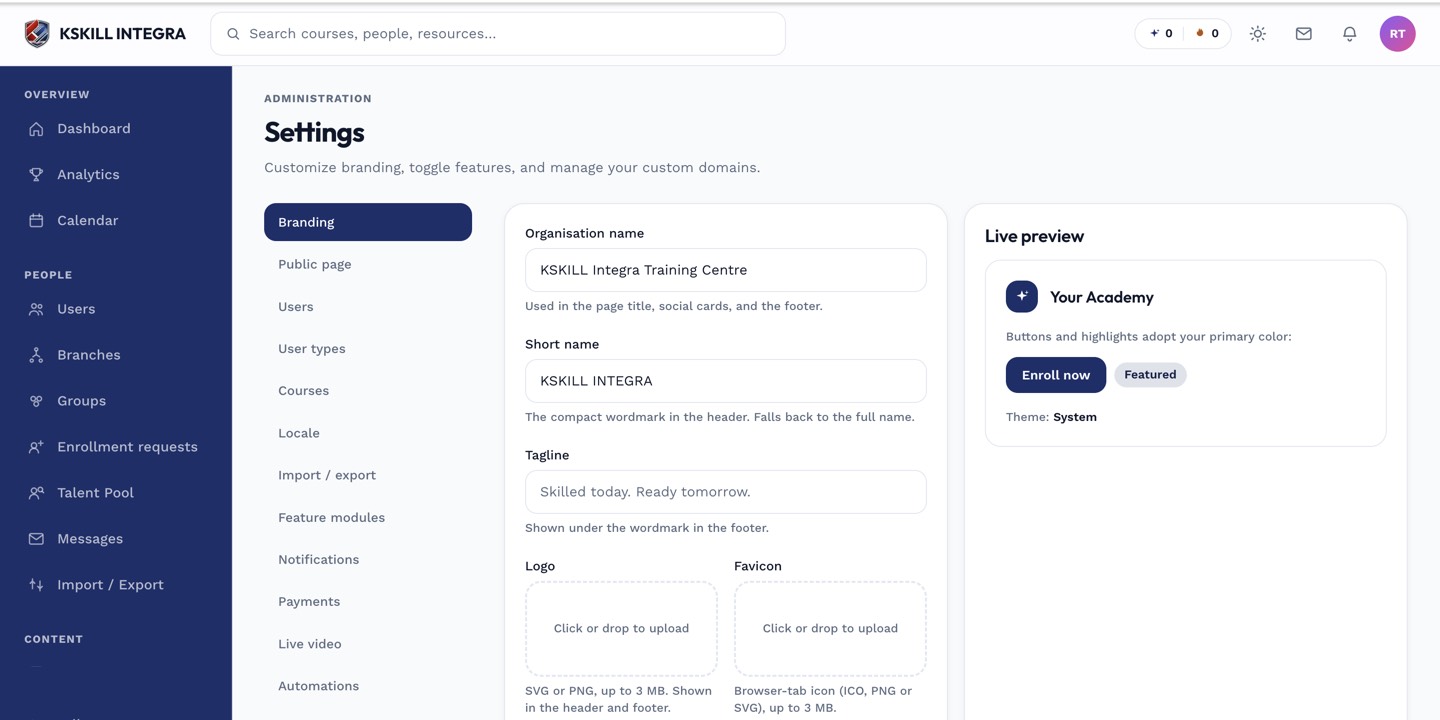
The Settings page is the single home for every tenant-level toggle.
Step 2 — Set per-category windows
For each category, pick Never, N days or N years. Compliance-driven tenants pick longer windows; storage-conscious tenants pick shorter. Save. The next nightly reaper enforces the new policy.
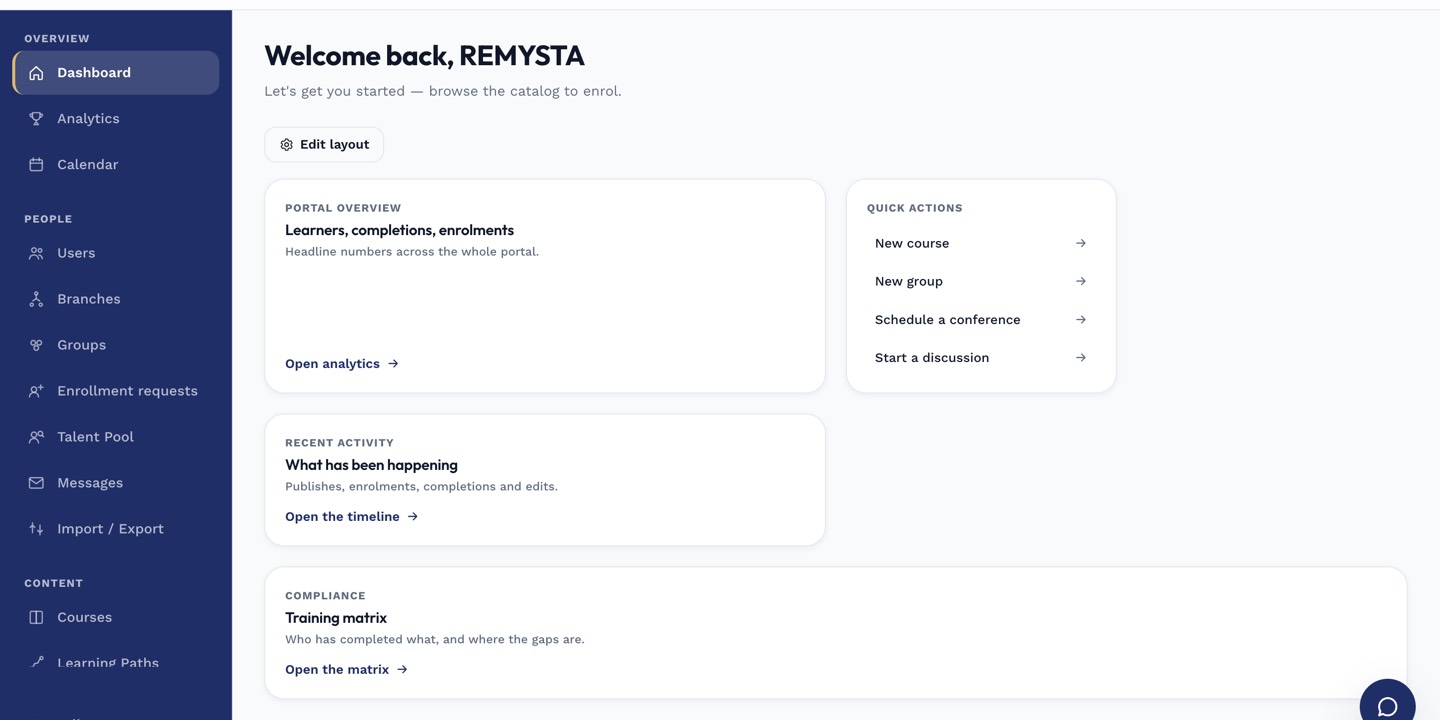
The left rail is the anchor for every admin task; every screen you visit starts with a click here.
Step 3 — What the reaper does
A nightly job scans each category and hard-deletes records past their retention window. Deletion is scrubbed personal data plus record removal. The audit log records the reaper's action for compliance evidence.
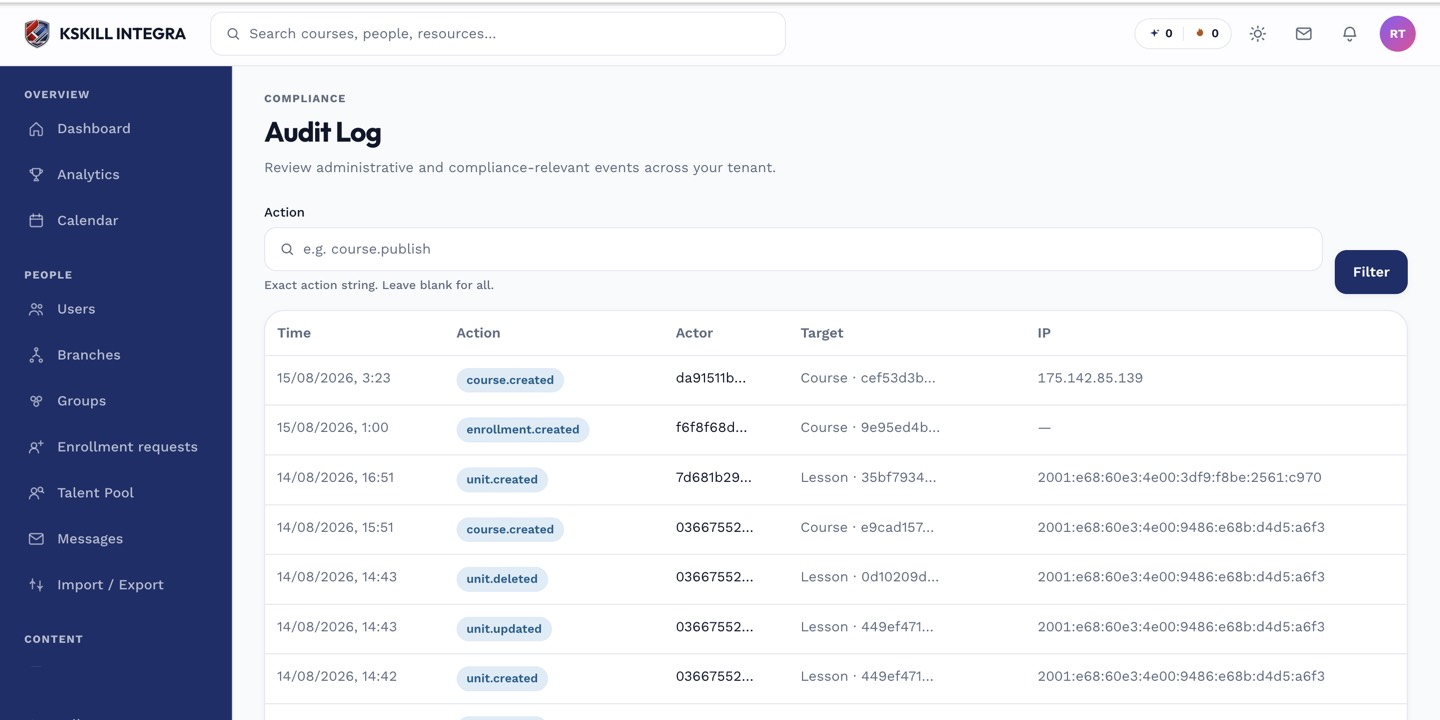
The audit log is your immutable record of who did what.
Notes
- The audit log itself is never retention-limited — it's evidence.
- For legal holds, exclude specific users from retention by flagging them under GDPR → Legal hold.