Schedule report exports
Scheduled exports mail a fresh report on a cadence. This article covers setting one up.
Before you start
You need the Admin role and email delivery configured.
Step 1 — Open Export & schedule
Open Configuration → Analytics and switch to Export & schedule. The list shows every existing schedule with its cadence and recipient list.
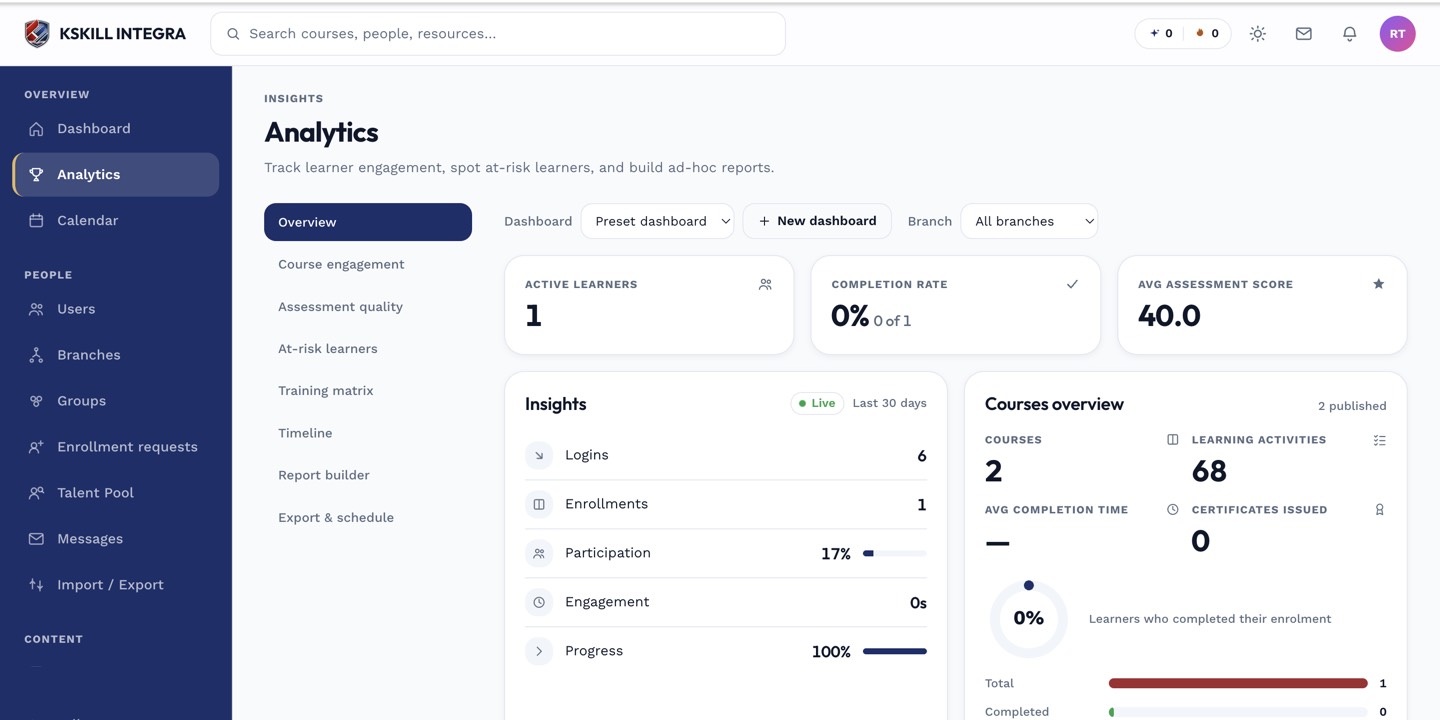
The Overview tab is the one everyone lives in — the deeper tabs answer sharper questions.
Step 2 — Create a schedule
Click New schedule. Pick the report or dashboard, pick a cadence (daily, weekly, monthly), pick a delivery time, and add recipient email addresses. Save. The first send fires at the next matching slot.
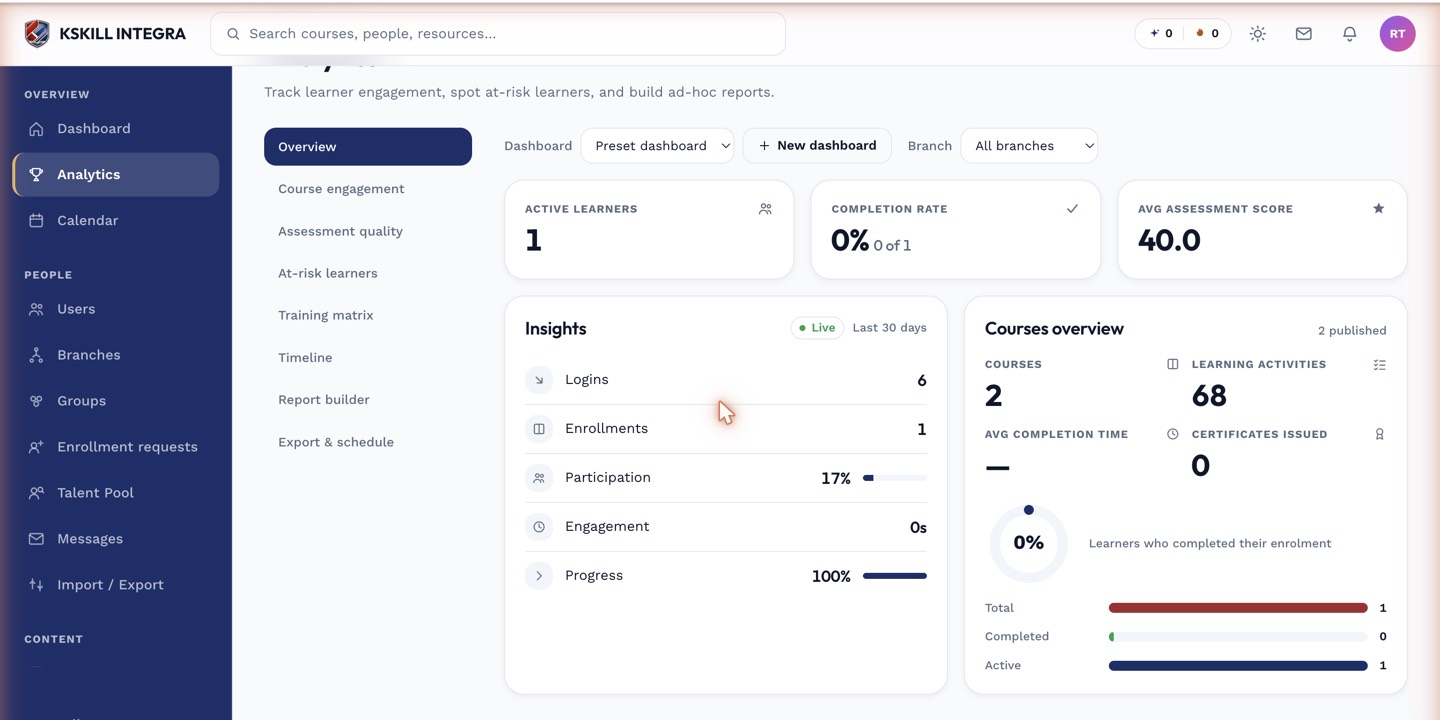
The detail panels give you the breakdown behind each KPI tile.
Step 3 — Manage the recipient list
Edit the schedule to add or remove recipients any time. Removed recipients stop getting the next email; added ones start getting it immediately. Non-users can be recipients — no sign-in needed.
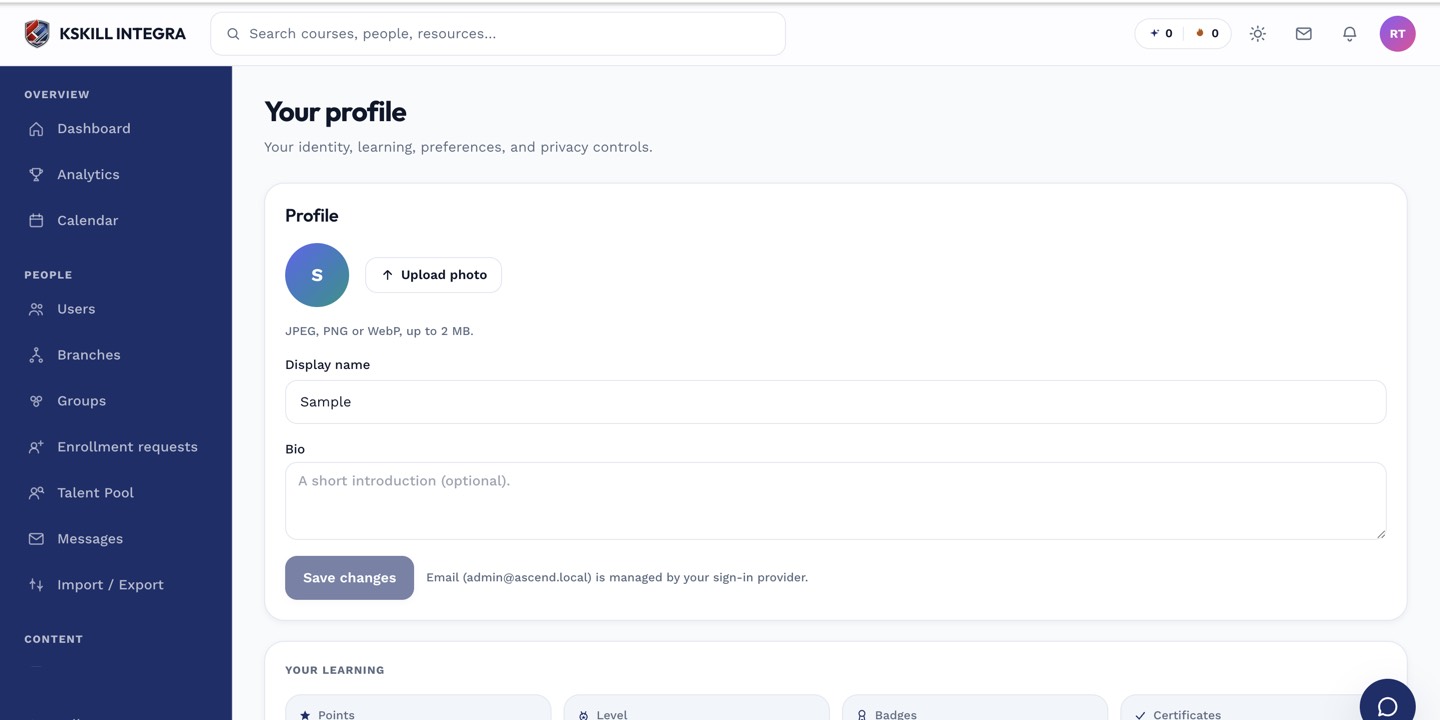
The account settings page is where a learner controls their own personal data.
Notes
- Every export uses the sender configured under Email delivery — check that your SPF and DKIM are healthy or the emails bounce.
- For very large exports, expect a delay between the scheduled time and inbox arrival.