Zoom integration
The Zoom integration lets you host live classes on Zoom with rosters synced from the LMS. This article covers connecting a Zoom account.
Before you start
You need the Admin role and a Zoom Pro account or higher.
Step 1 — Open Zoom integration
Open Configuration → Settings and pick Zoom. Click Connect Zoom account to start the OAuth handshake.
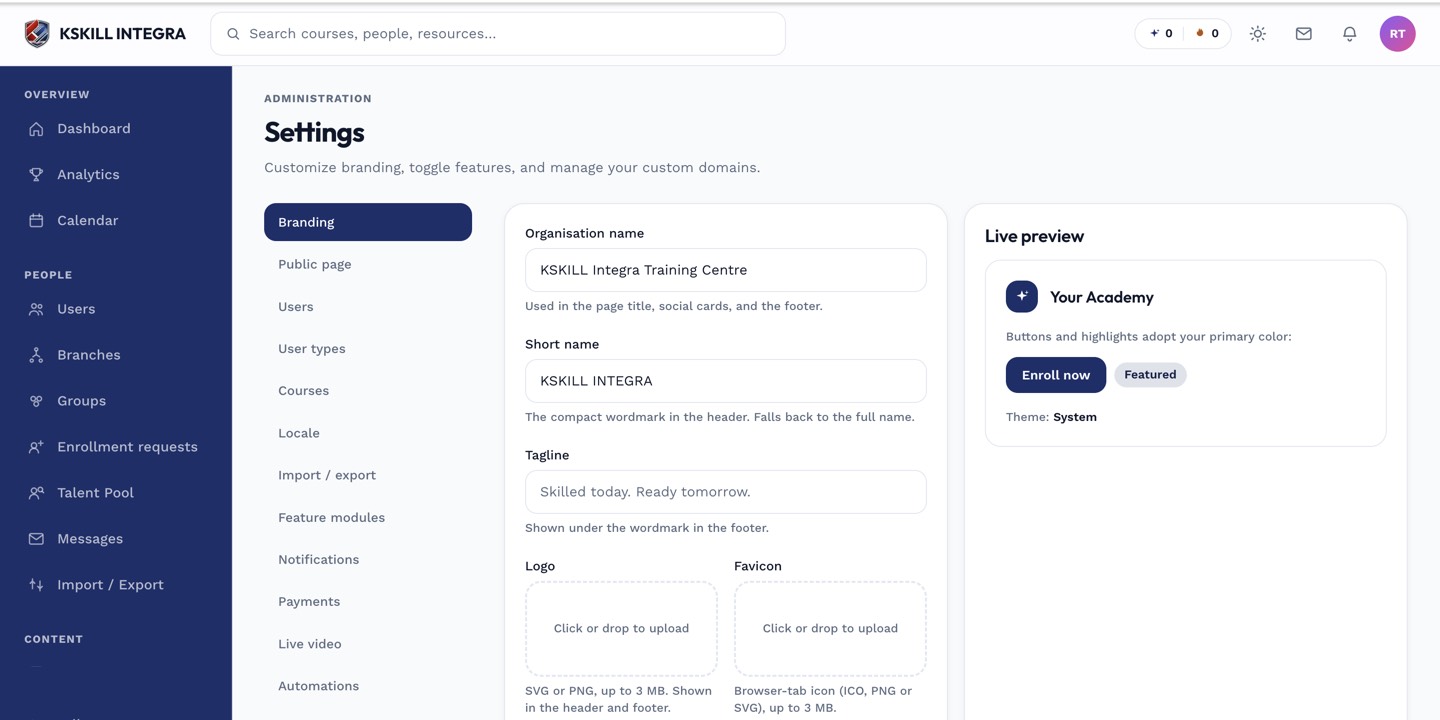
The Settings page is the single home for every tenant-level toggle.
Step 2 — Authorise Zoom access
Zoom's consent screen lists the permissions the LMS wants — create meetings, list participants, fetch recordings. Accept and you are redirected back with the connection live.
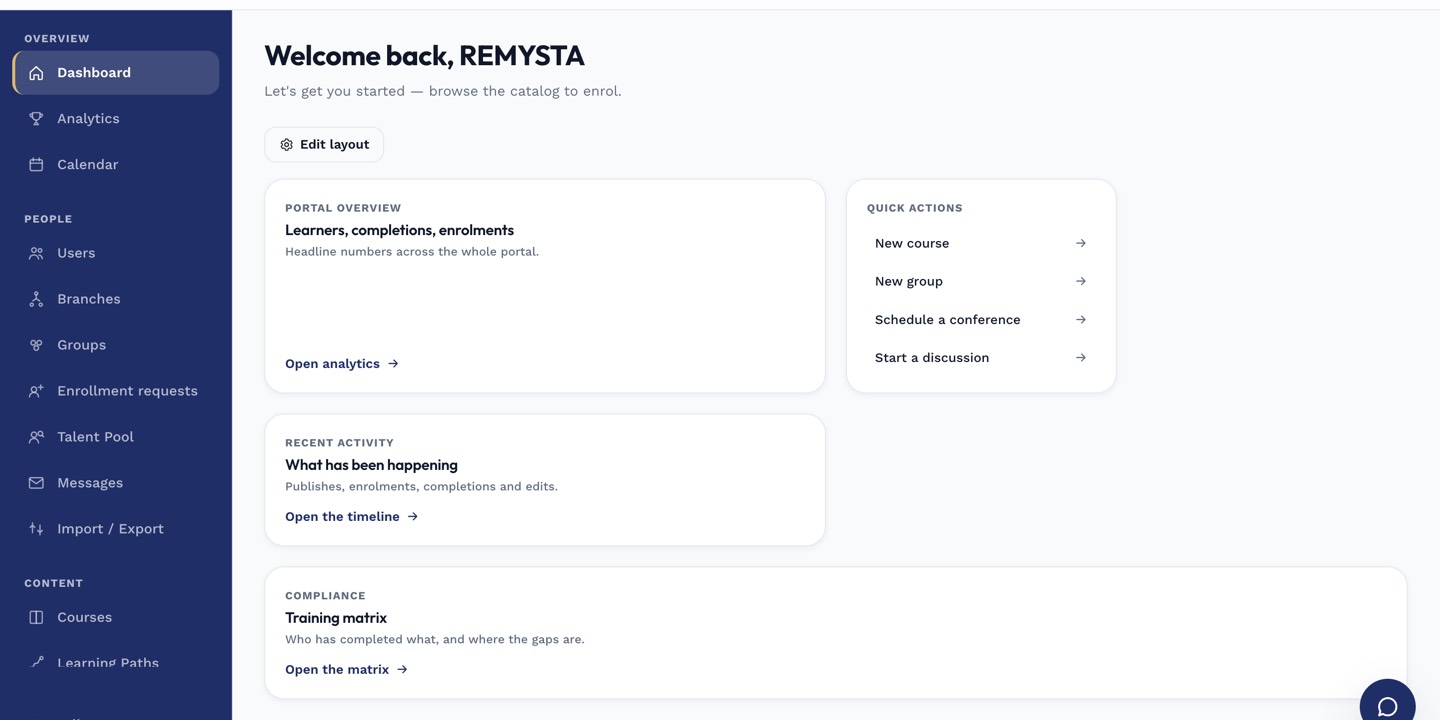
The left rail is the anchor for every admin task; every screen you visit starts with a click here.
Step 3 — Create a Zoom-backed live class
Open Content → Conferences, click New conference, and pick Zoom. The LMS creates the meeting, invites the roster, and shares the join link. Recordings (if you asked Zoom to record) land in the course's Files tab.
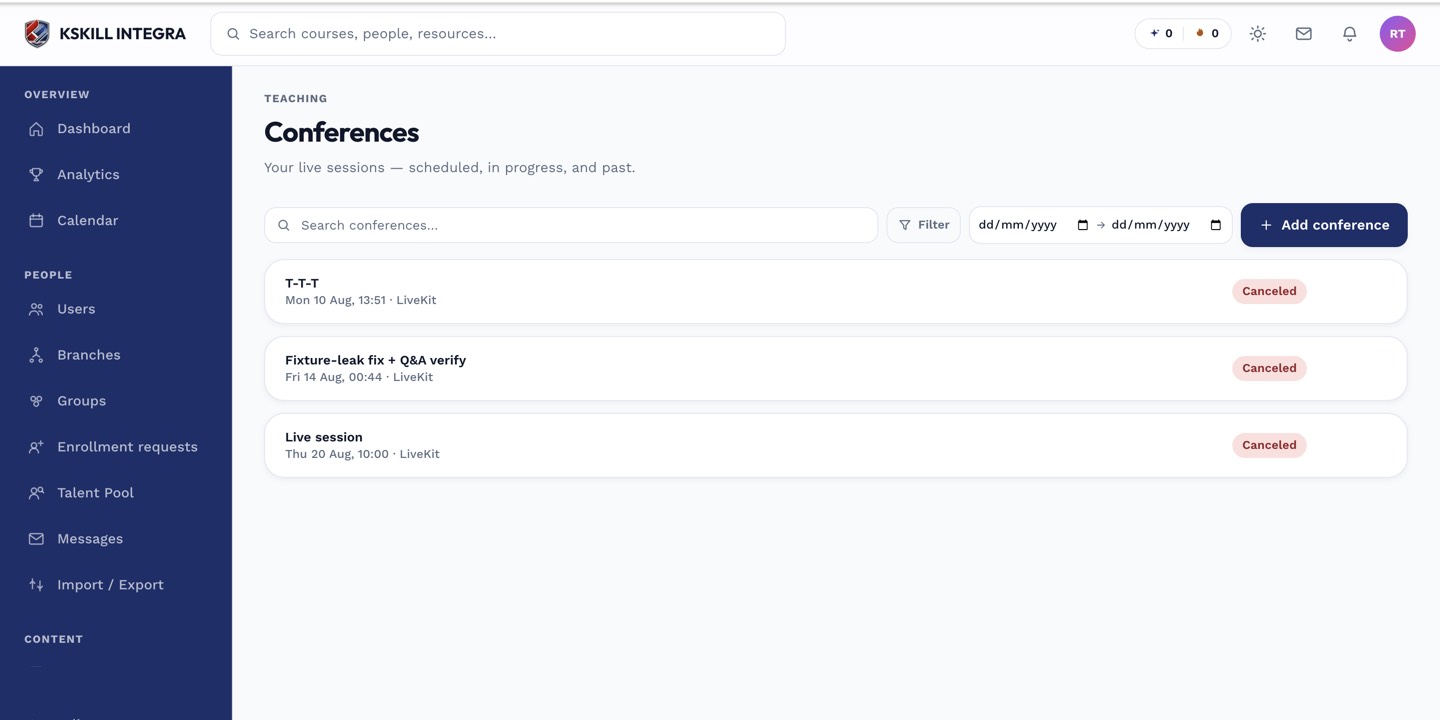
The conferences page is the calendar for every scheduled live class.
Notes
- Zoom recording requires a Pro plan or higher on the Zoom side.
- For very large audiences, Zoom Webinar behaves differently — the standard Zoom card handles meetings only.