Creating a Branch and Nested Sub-Branches
BranchesUpdated September 21, 2026
Setting up a branch takes under a minute once you know whether it's a top-level branch or a sub-branch nested inside an existing one. This walks through both.
Create a top-level branch
- Open Manage → Branches from the sidebar.
- Click New branch in the top right.
- Give it a name (for example, 'Sales' or 'Acme Corp Reseller').
- Leave the Parent branch field empty — this makes it a top-level branch.
- Save. The branch now appears in your branch list with an empty roster.
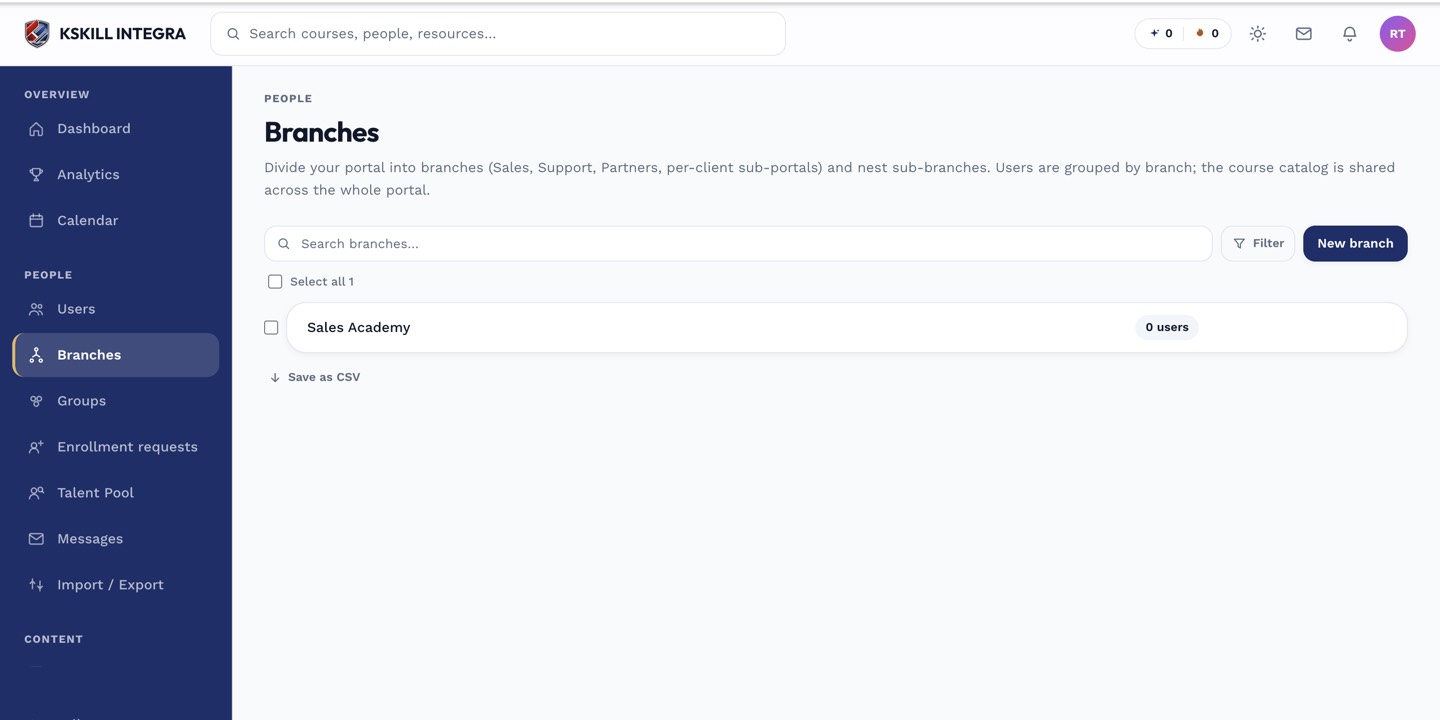 New branches appear at the top of the hierarchy until you nest them.
Nest a sub-branch
To create a sub-branch, follow the same steps but set Parent branch to an existing branch. The new branch is now nested underneath it and appears indented in the branch list. There's no fixed limit on nesting depth — a sub-branch can itself have sub-branches — but keep the hierarchy shallow enough that admins can still navigate it easily.
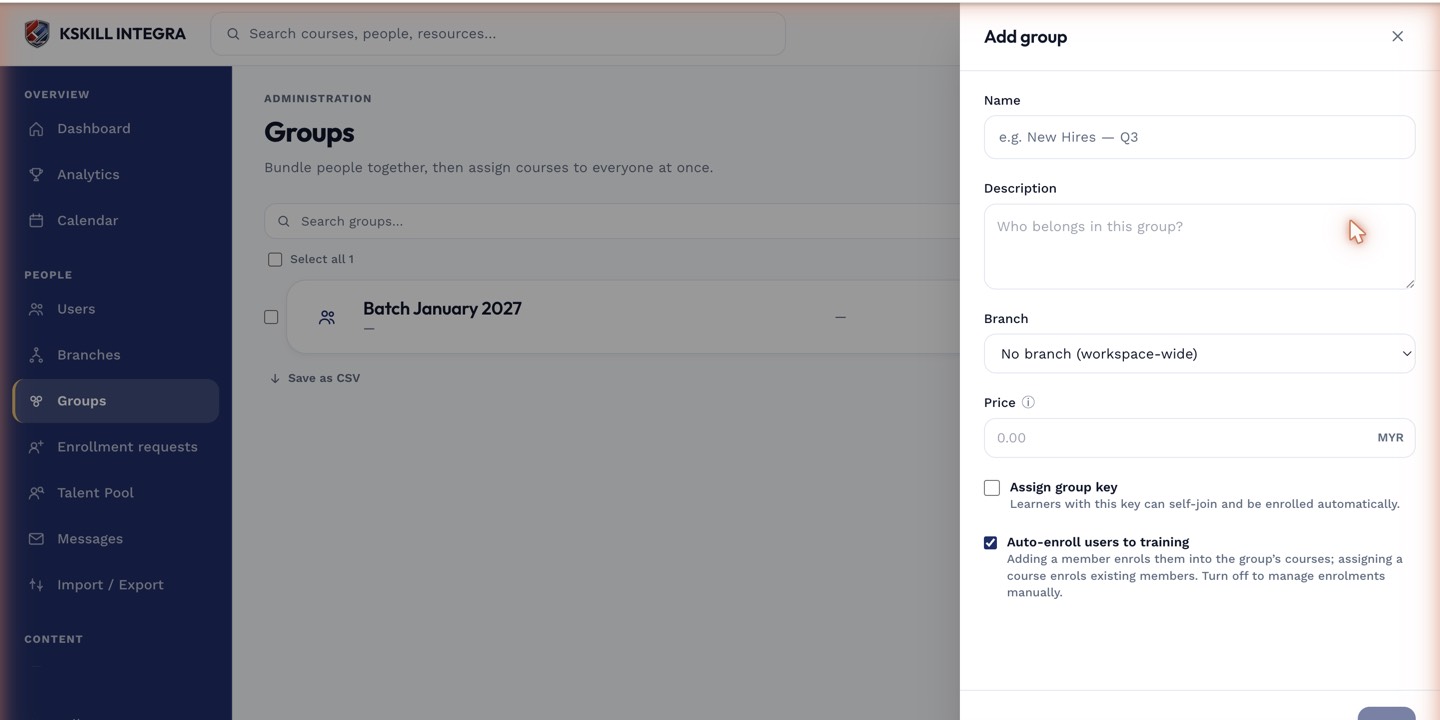 The parent branch selector is what turns a new branch into a nested sub-branch.
Notes
A sub-branch doesn't inherit anything special from its parent — it has its own roster and, if you use per-branch payment settings, its own configuration. The catalog stays shared across the entire hierarchy.
What next?
#branches#sub-branches#setup#admin#hierarchy