Branch signup keys
Signup keys let external learners register into a specific branch without a manual invite. This article covers configuring one.
Before you start
You need the Admin role.
Step 1 — Open the branch's Info tab
Open People → Branches, click the branch, and switch to the Info tab. The Signup key card holds the current active key (if any) plus a rotate button.
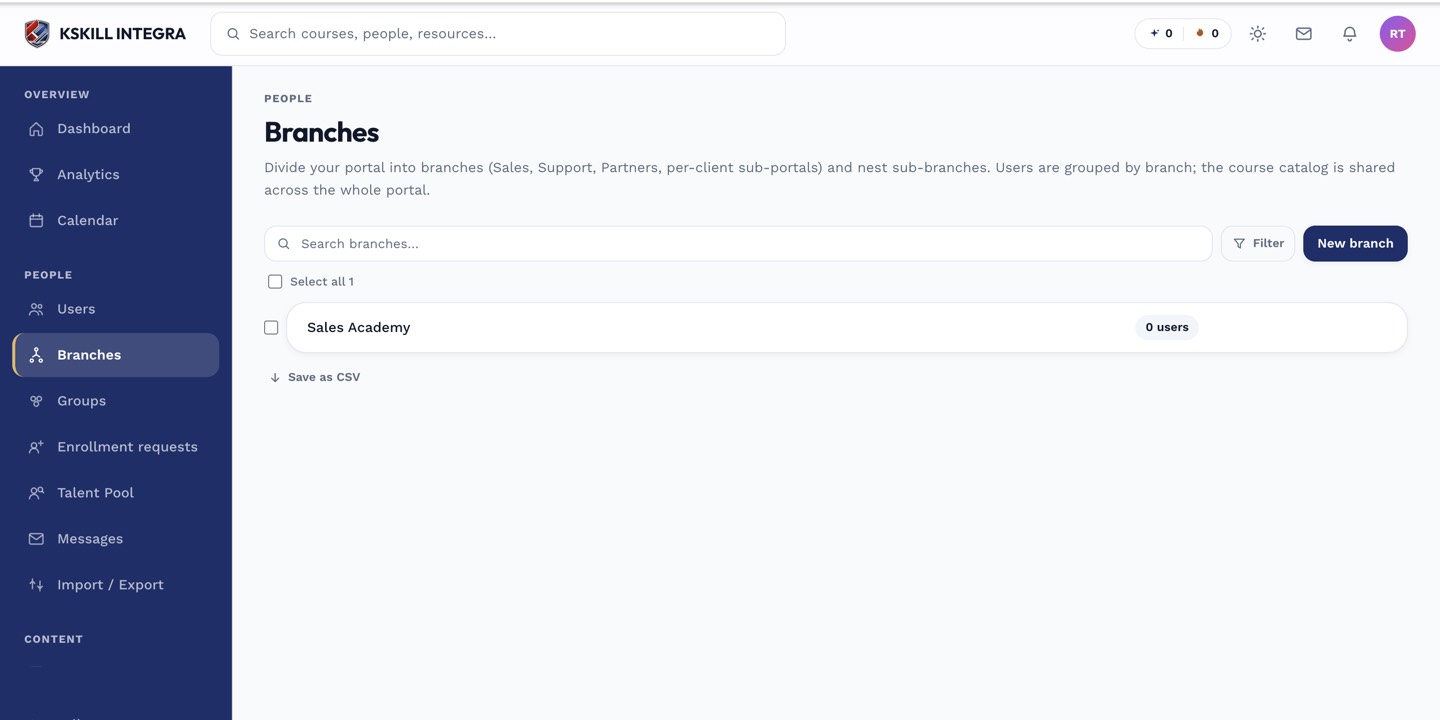
The Branches list is the roll-up view of every sub-portal on the tenant.
Step 2 — Create or rotate a key
Click Generate key. Copy the short string. Share it with people who should self-register into this branch. Rotate whenever the key leaks; old keys stop working immediately.
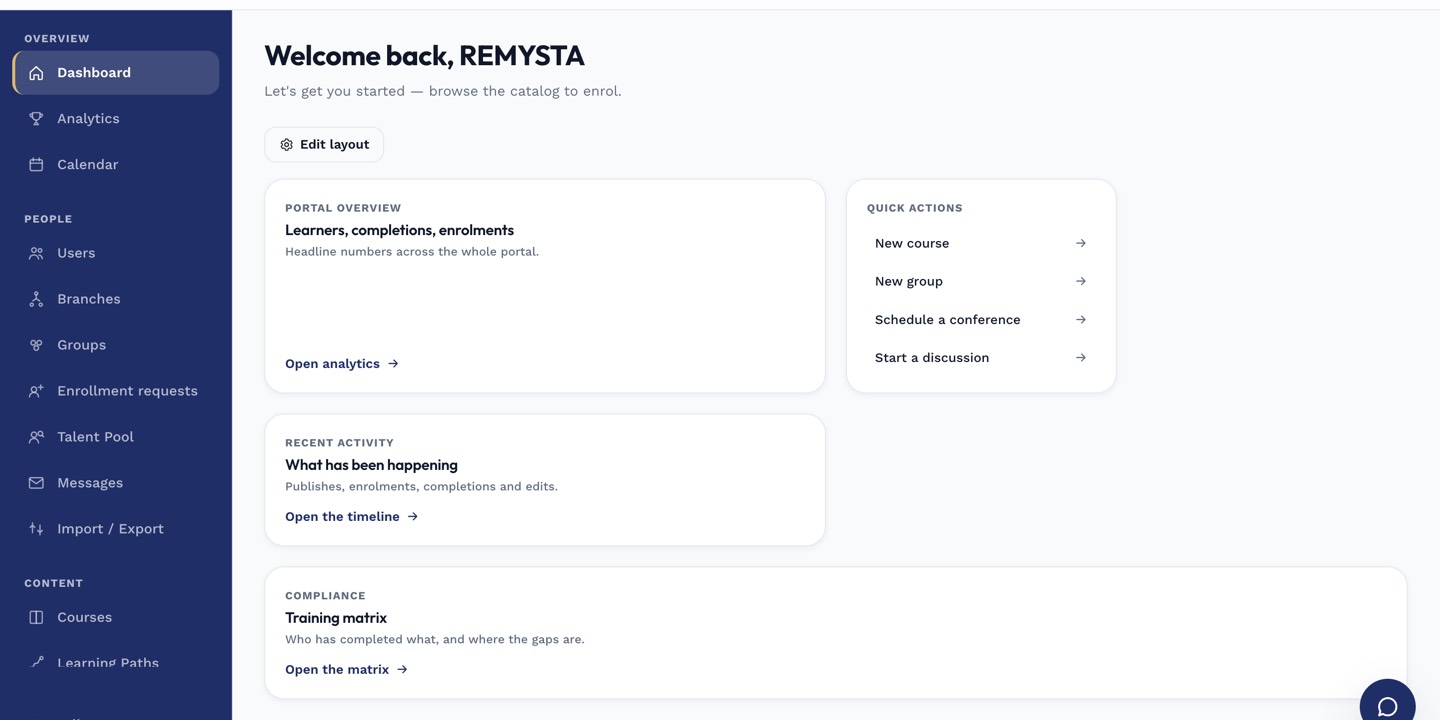
The left rail is the anchor for every admin task; every screen you visit starts with a click here.
Step 3 — How signup works
Recipients open the tenant's public signup URL and paste the key. They fill their profile and land in the correct branch, already provisioned. The DTO accepts either a signup key or a marketplace licence id.
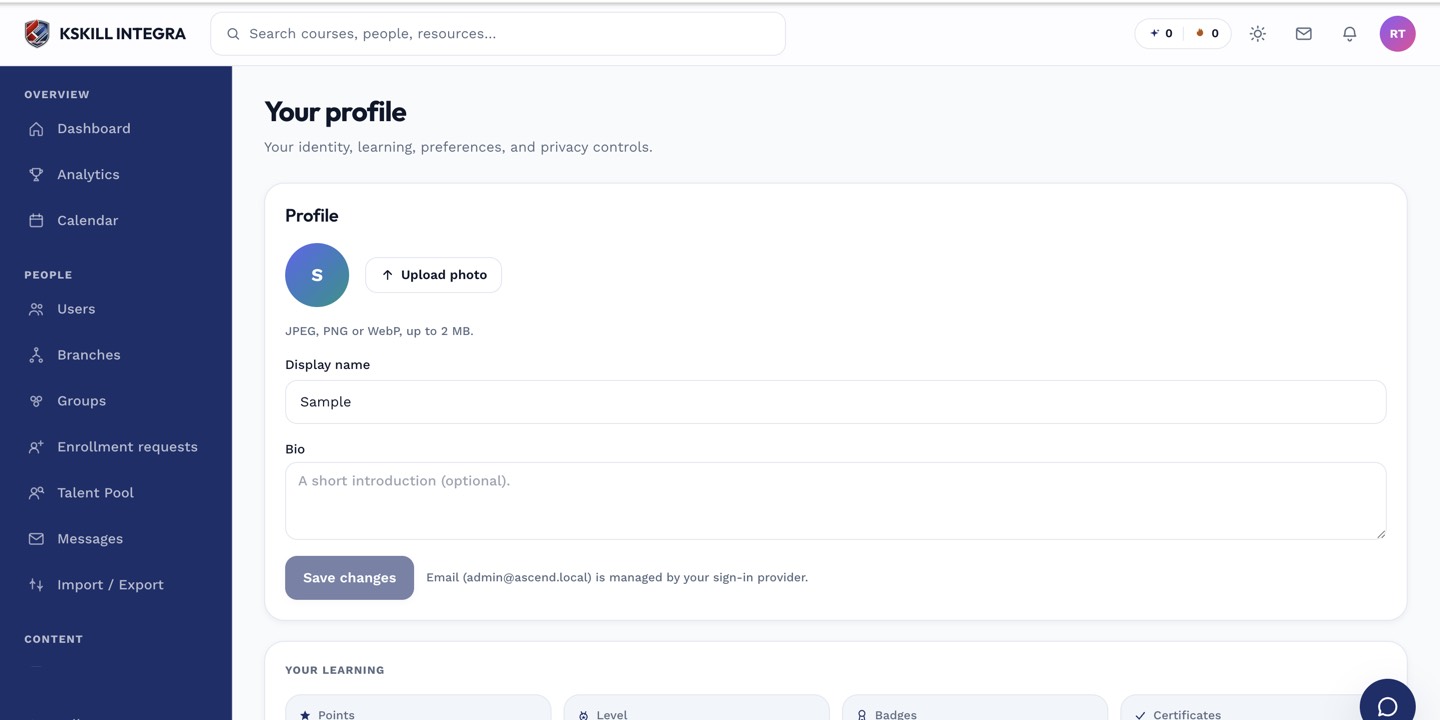
The account settings page is where a learner controls their own personal data.
Notes
- Signup keys and marketplace licence ids are mutually exclusive at signup — one or the other.
- For high-security tenants, prefer SSO+SCIM over signup keys.