Configure branch branding
Each branch can override the tenant's branding with its own logo, colours and email header. This article covers doing it.
Before you start
You need the Admin or Branch admin role for the branch. Have the branch's logo and hex codes ready.
Step 1 — Open the branch's Branding tab
Open People → Branches, click the branch, and switch to the Branding tab. The page mirrors the tenant-wide branding page but scopes changes to this branch only.
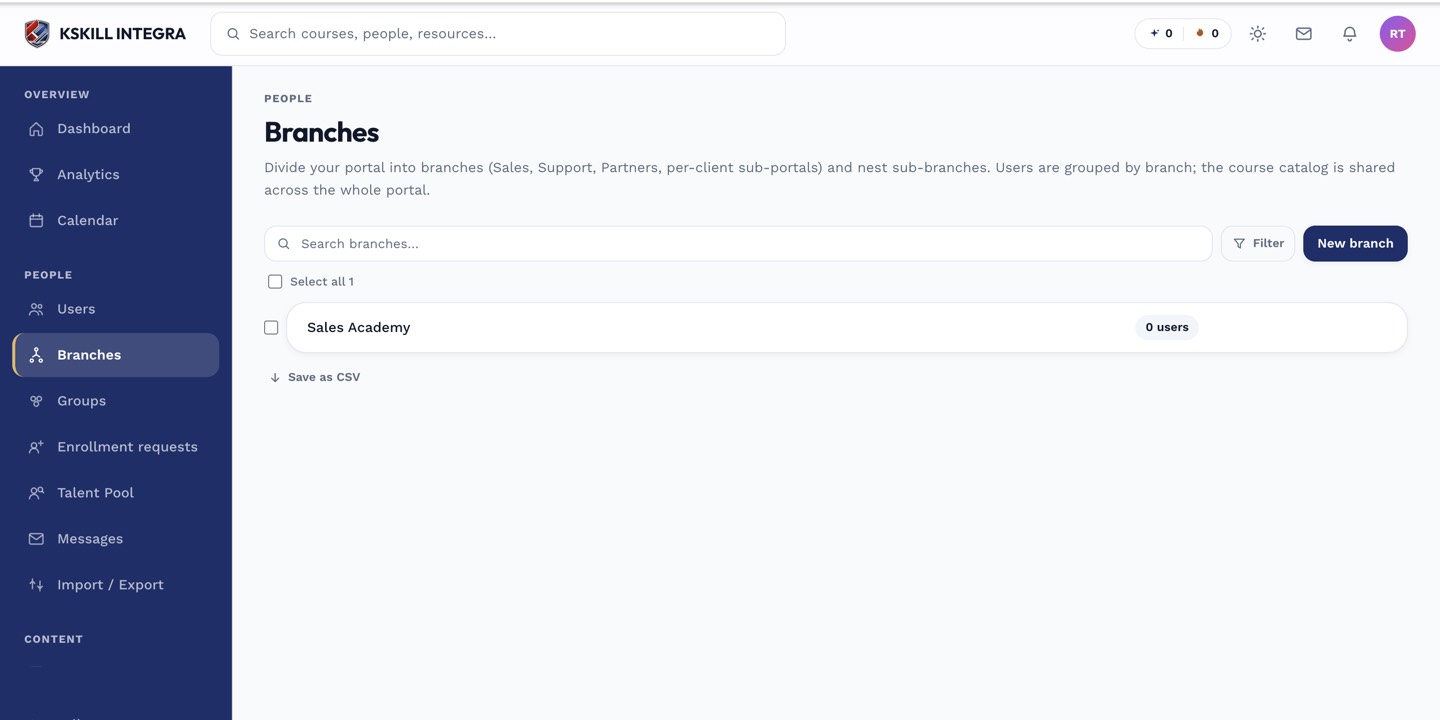
The Branches list is the roll-up view of every sub-portal on the tenant.
Step 2 — Upload logo and set colours
Drop the logo (SVG preferred) and enter the branch's primary and accent hex codes. Everything users of this branch see — sidebar, catalog, emails — swaps to the branch look immediately after save.
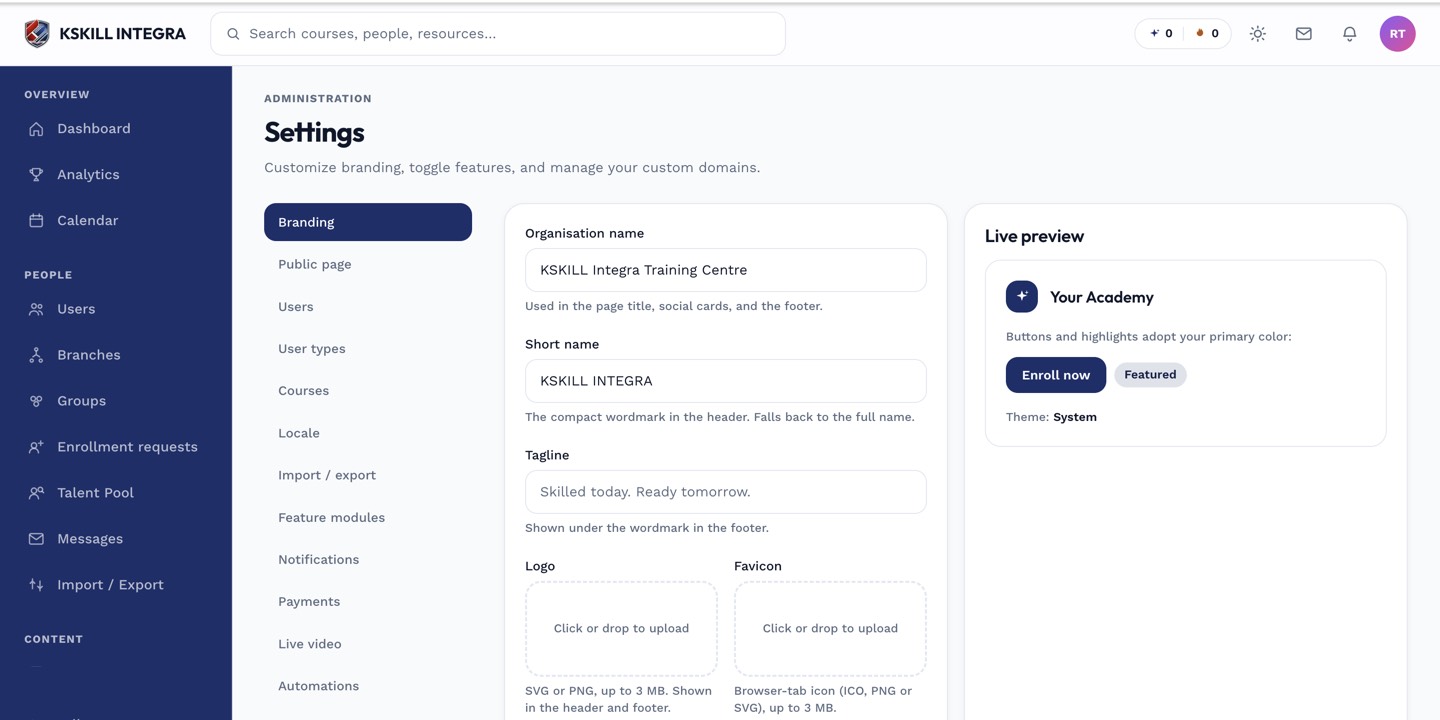
The Settings page is the single home for every tenant-level toggle.
Step 3 — Verify the switch
Sign in as a user belonging to this branch (or open the branch's custom domain in an incognito window). The whole interface should feel like the branch's brand, not the parent tenant's. If it still looks like the tenant, hard-refresh — the browser caches the previous logo.
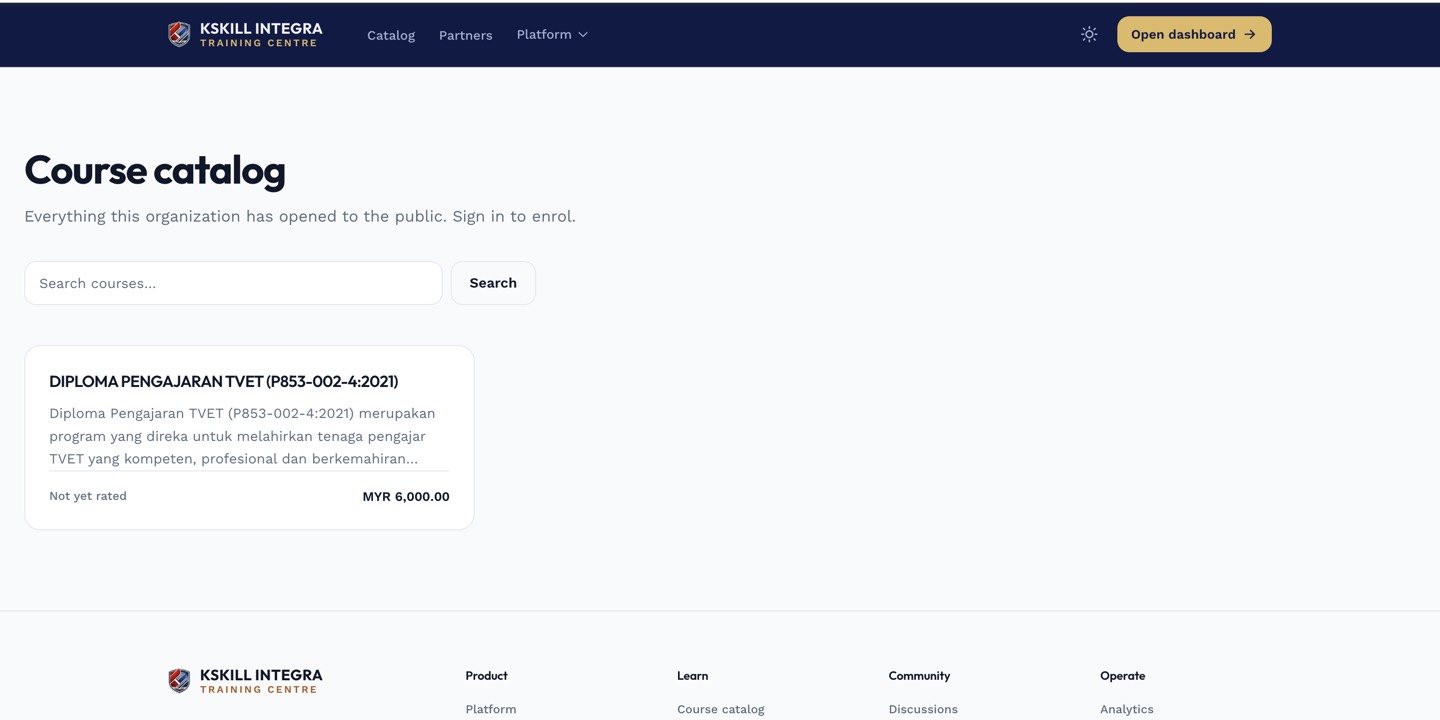
The catalog is the learner-facing shelf of everything a learner is allowed to self-enrol into.
Notes
- Branch branding always wins over tenant branding for users in that branch.
- For a totally separate URL, request a custom domain scoped to the branch.