Configure certificates
A certificate is a PDF the platform auto-generates the moment a learner completes a course. Attach one template per course and it fires forever after.
Before you start
You need the Admin role. Design your template under Content → Certificates first — you cannot attach a template that does not exist.
Step 1 — Attach a template to the course
Open Content → Courses, click the course title, and switch to the Certificates tab in the header. Pick a template from the dropdown. Every learner who completes this course from now on gets one — no manual step required.
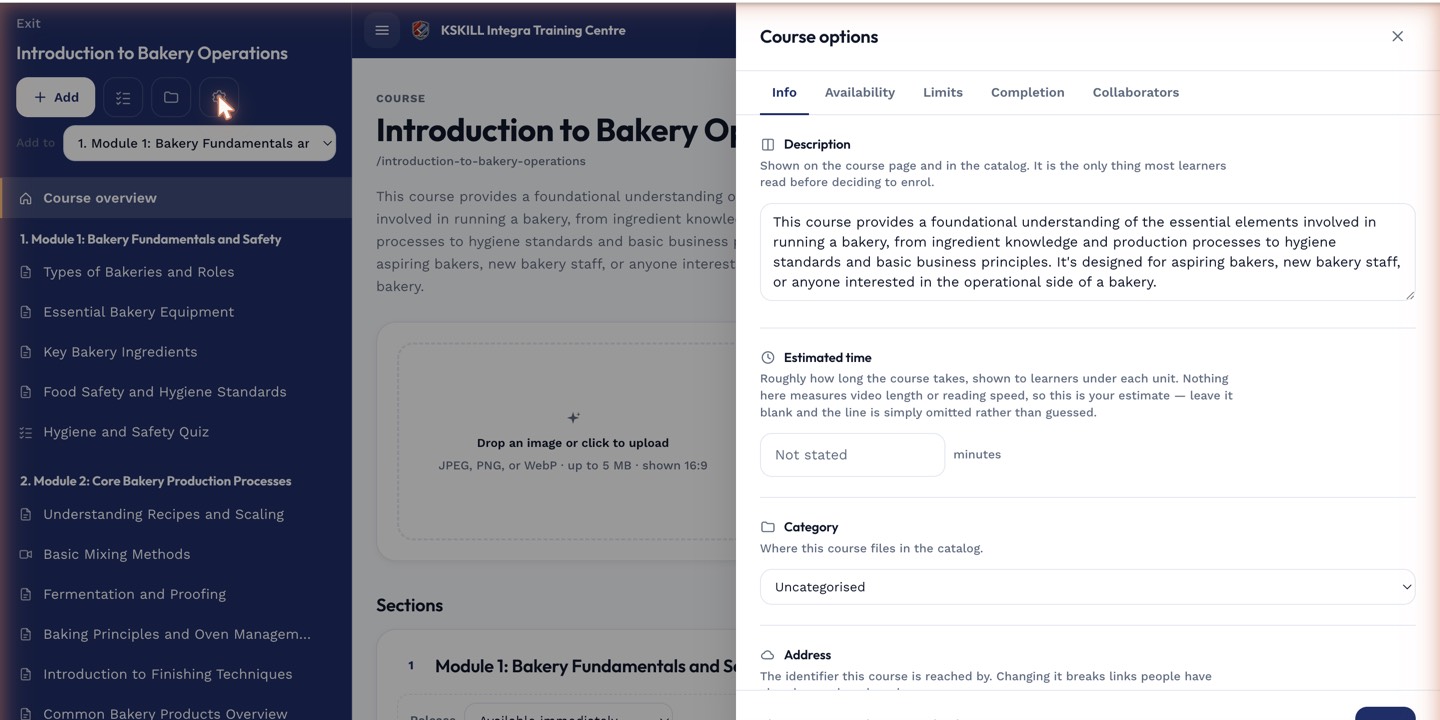
The options drawer is where every per-course rule lives — visibility, price, completion criteria, expiration.
Step 2 — Choose an expiration policy
In the same tab, set Expiration to Never, After N days, or On a fixed date. Expired certificates disappear from the learner's wall but remain in the audit log. Click Save. You can also mass re-award existing holders when you tweak the template.
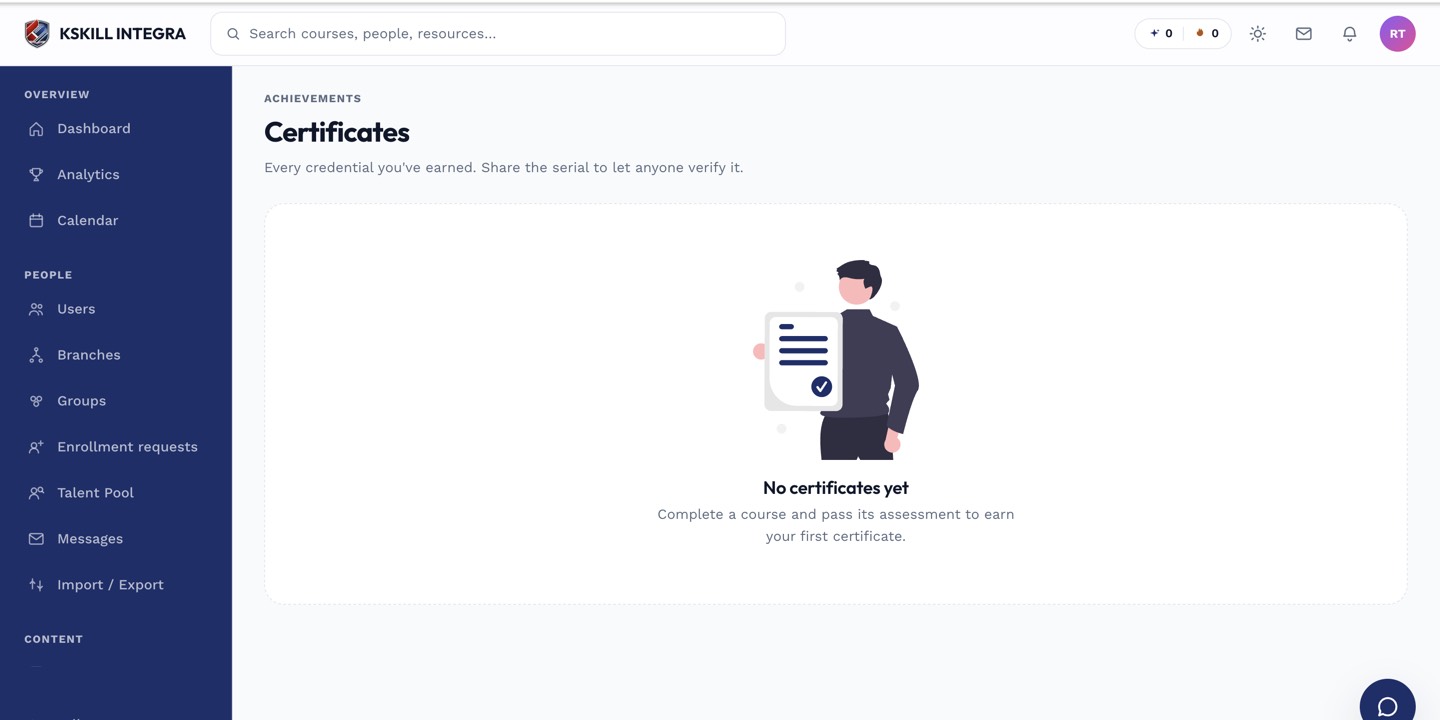
Certificates land here the moment a learner completes the course that issued them.
Step 3 — What learners see
Learners open My certificates from their sidebar. Each card shows the course, issue date, expiration and a download link that produces a fresh signed PDF. Every certificate carries a verification code a third party can paste into the tenant's public verification page.
Certificates land here the moment a learner completes the course that issued them.
Notes
- The verification page is the mechanism to point recruiters and auditors at.
- Editing a template does not re-issue old certificates unless you click Mass re-award.