Create a Cohort with dates
Cohorts run a course as a scheduled intake — start date, end date, shared discussion. This article covers creating one and attaching a course.
Before you start
You need the Admin role and the cohorts feature enabled. Have the course you want to schedule ready first.
Step 1 — Open Cohorts
Open People → Cohorts and click New cohort. The drawer collects a name, a description, the start and end dates, and an optional cap on enrolments so the intake stays a manageable size.
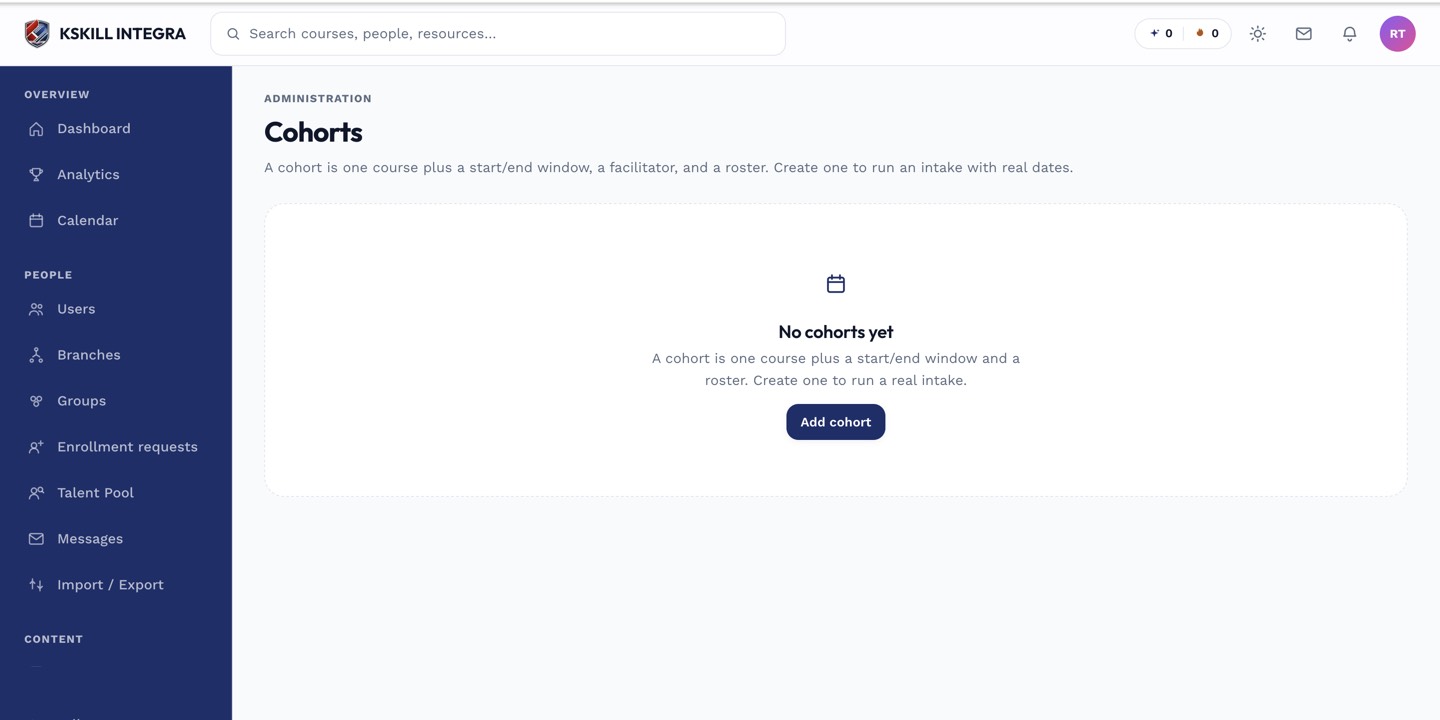
Cohorts are the time-boxed cousin of Groups — same drawer patterns, added dates.
Step 2 — Attach a course and set the schedule
Pick the course this cohort runs. Choose whether members can start early or must wait for the start date. If you set a cap, extra learners land on the waitlist. Save and the cohort is live in the admin list.
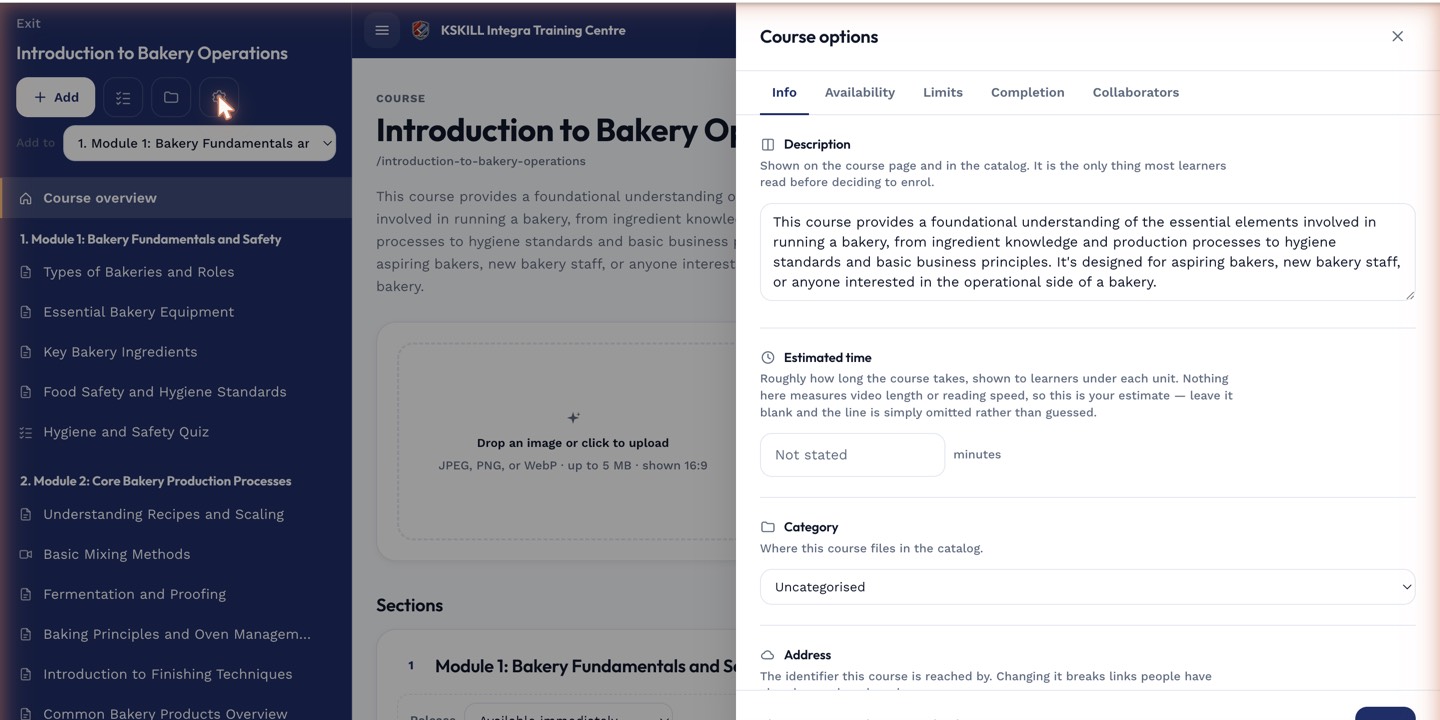
The options drawer is where every per-course rule lives — visibility, price, completion criteria, expiration.
Step 3 — What learners see
Cohort members open My cohorts from their sidebar. Each cohort card shows the schedule, the shared discussion thread, and a progress bar. Facilitators can see the whole roster from the cohort's Members tab.
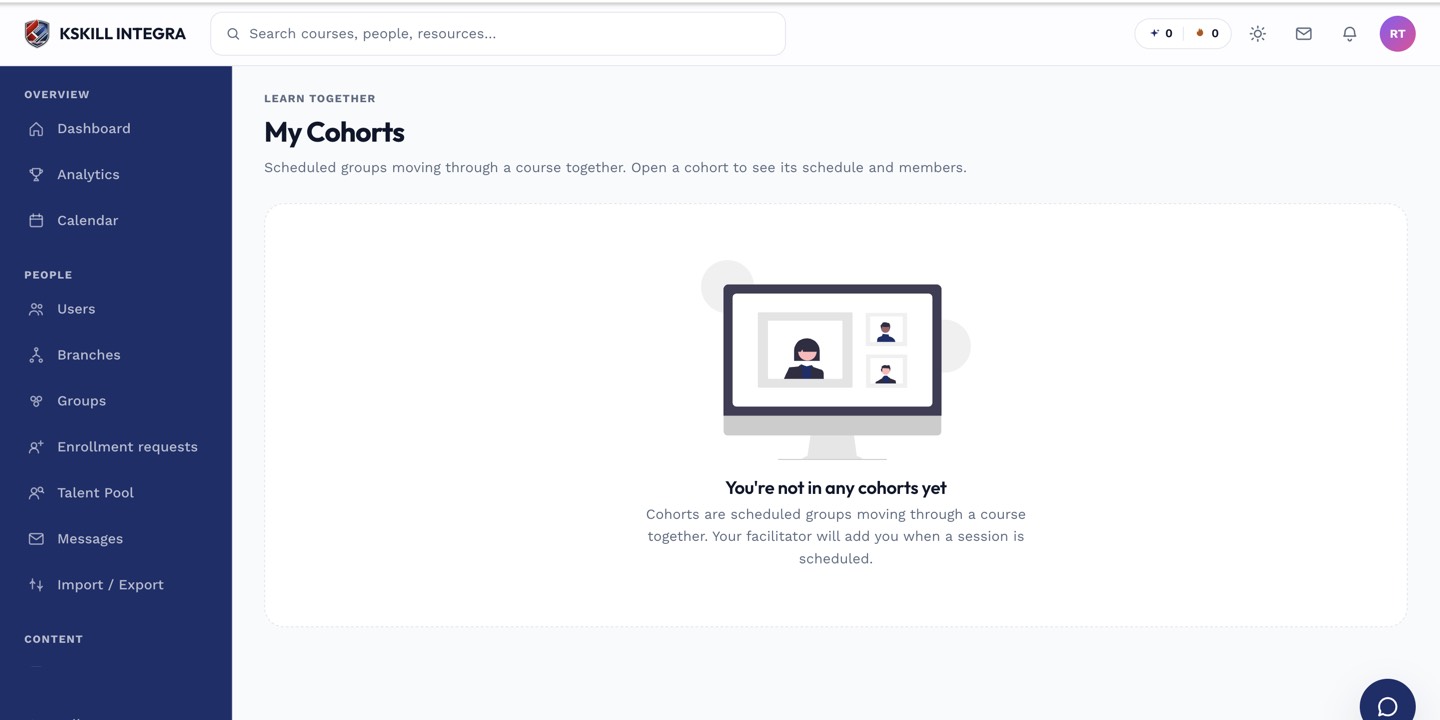
The learner cohorts view shows every scheduled intake the learner belongs to.
Notes
- Every cohort auto-creates a discussion thread scoped to its members.
- Milestone notifications (kick-off, mid-point, end) fire automatically — no separate schedule needed.