My groups page
My Groups is your roll-up of every group and cohort you belong to. This article covers what's on the page.
Before you start
You need to be signed in. You see only Groups you belong to.
Step 1 — Open My Groups
Open My Groups from your sidebar. Every group and cohort you're in appears as a card with the name, owner, member count and any attached courses.
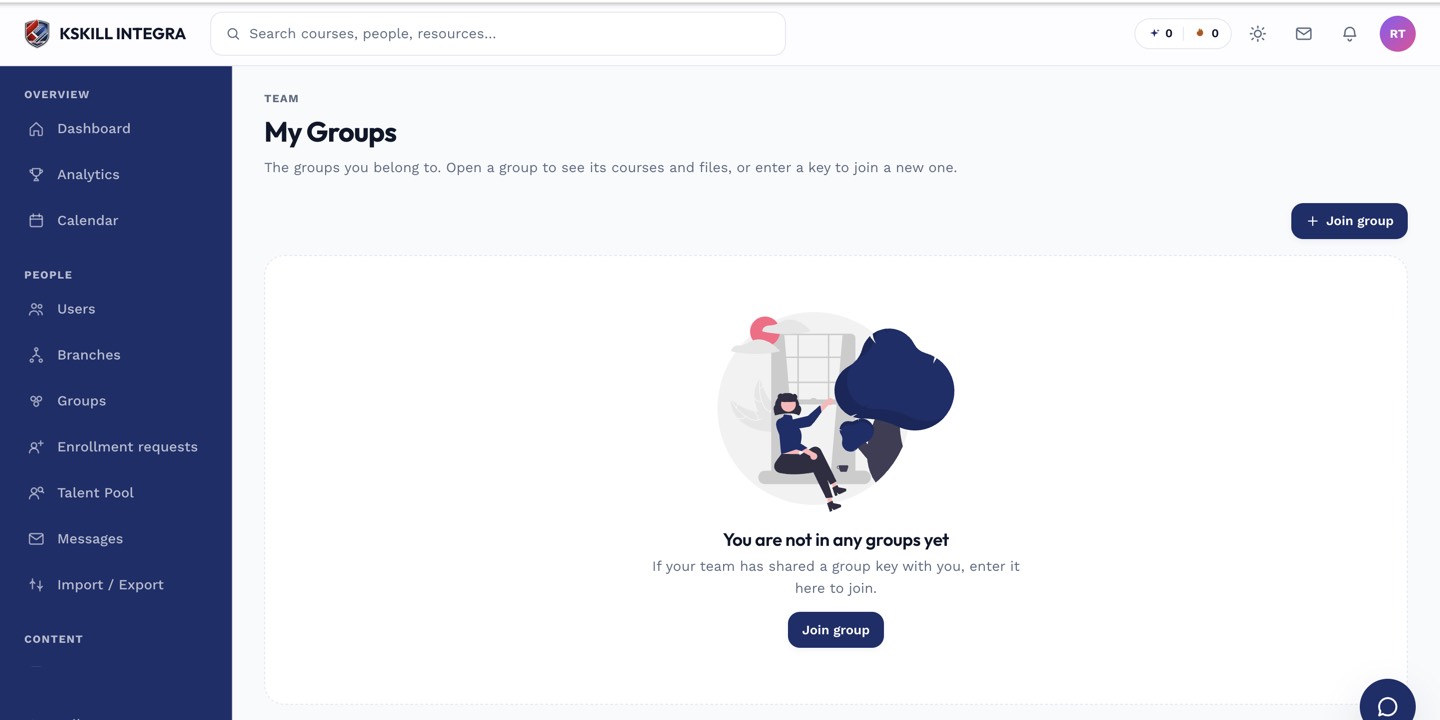
My Groups is the learner's roll-up of every group and cohort they belong to.
Step 2 — Join with a code
Click Join a group at the top. Paste a code your admin or group owner shared. The join is instant — the group appears in your list and any attached courses auto-enrol you.
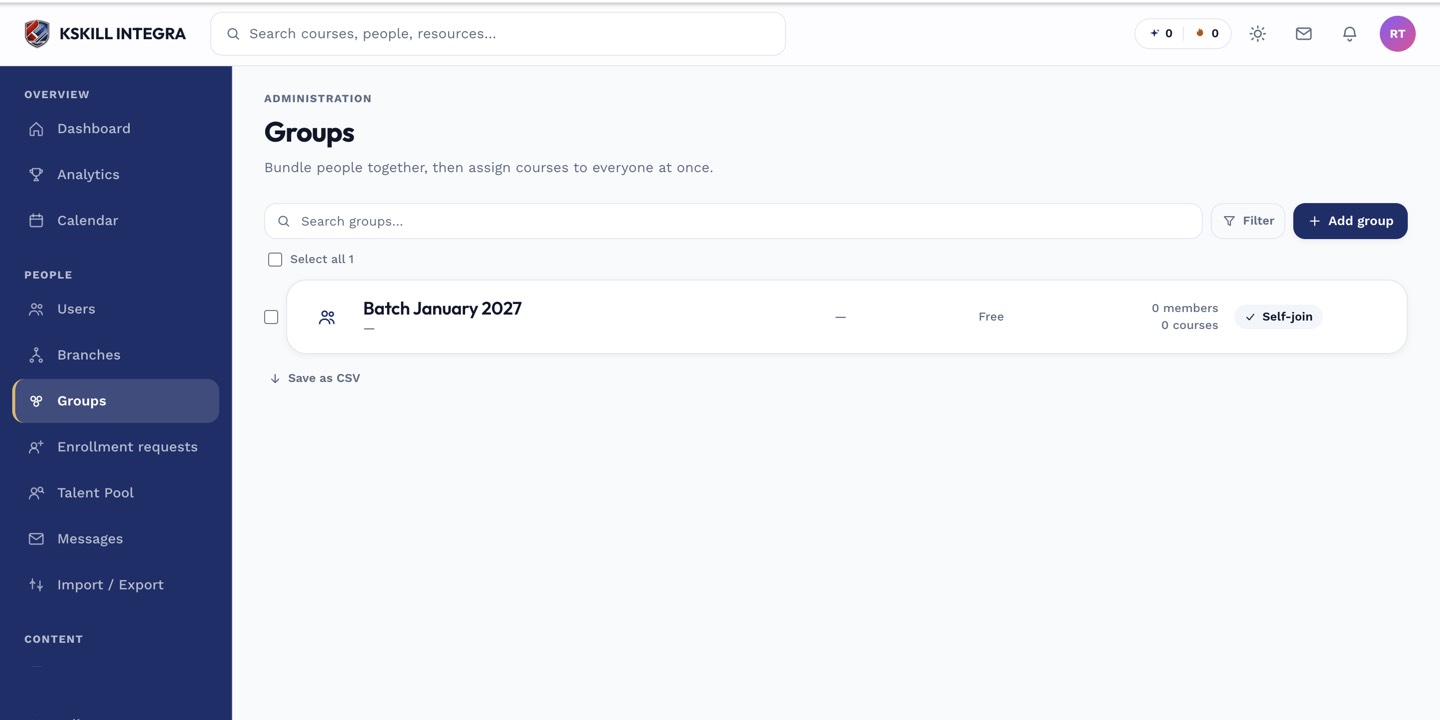
Every group management task starts from this list.
Step 3 — Leave if you want to
Click a group card to open its detail. If leaving is allowed, a Leave group button appears in the header. Leaving unenrols you from courses attached only to that group; you keep courses you were also enrolled in directly.
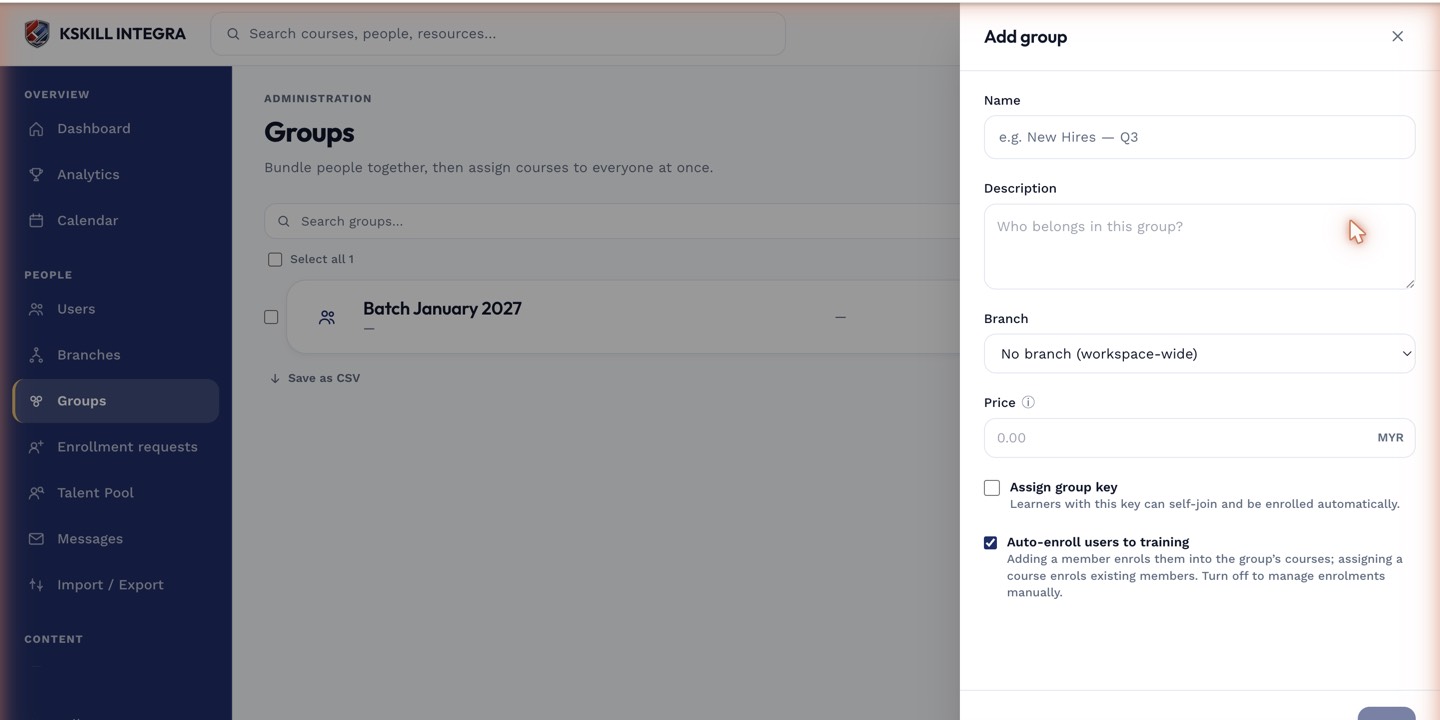
The drawer collects the metadata that decides how the group behaves.
Notes
- Cohorts show a schedule under their card; groups don't.
- Some groups are locked — leave isn't possible if your admin disallowed it.