Receive and view your certificates
Certificates land automatically the moment you complete a course. This article covers finding them, downloading them and sharing them.
Before you start
You need to be signed in. Only courses with a certificate template attached issue one — the platform tells you before you start.
Step 1 — Open My Certificates
Open My Certificates from your sidebar. Every earned certificate is a card with the course, issue date and expiration (if any). Cards flip to greyscale once expired.
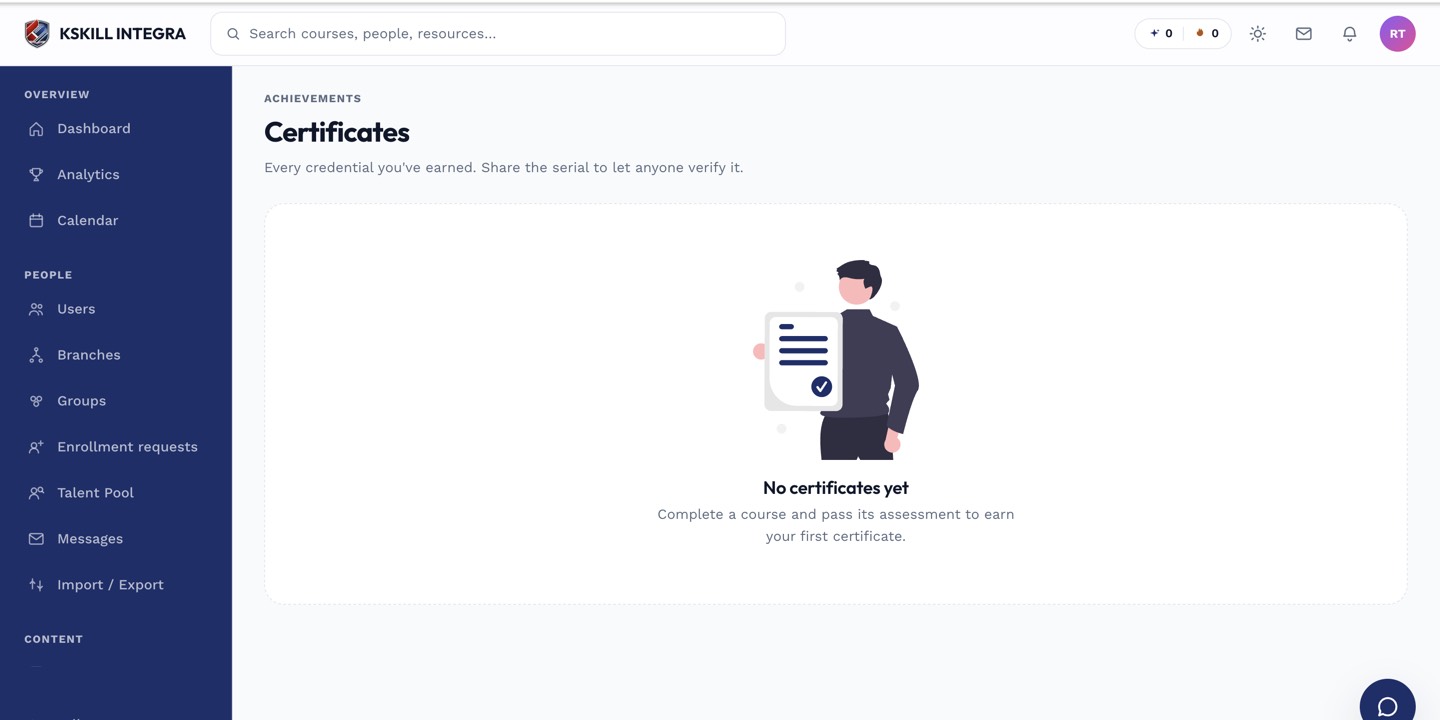
Certificates land here the moment a learner completes the course that issued them.
Step 2 — Download the PDF
Click any card to open the certificate in a preview. Click Download to save the PDF. The download is generated on demand and signed — anyone who opens it can verify it against the tenant's public verification page using the code printed on the front.
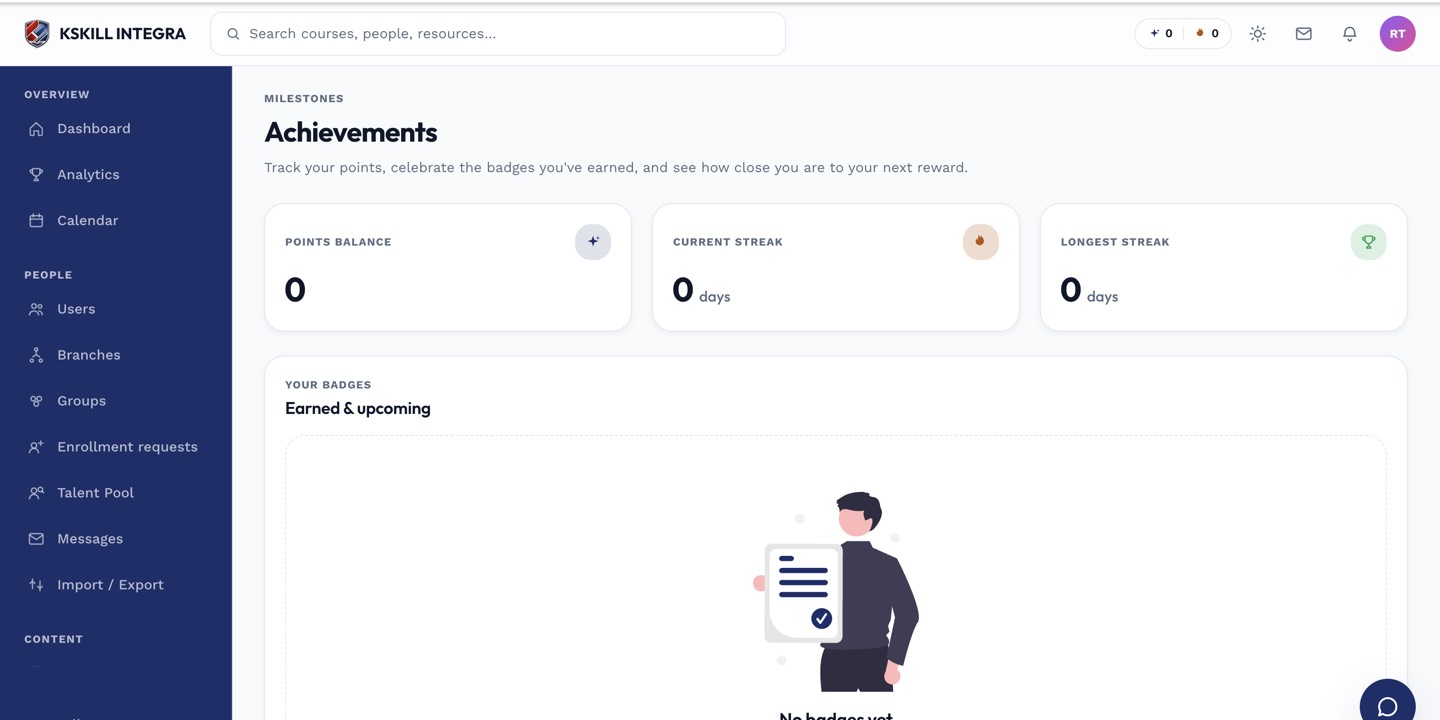
Achievements are the badges a learner has earned and can show off on their profile.
Step 3 — Share with recruiters
The verification code on the certificate is the mechanism a recruiter or auditor uses to confirm the certificate is genuine. Include the code (or a link to the tenant's verification page) wherever you list the credential — LinkedIn, CV, portfolio.
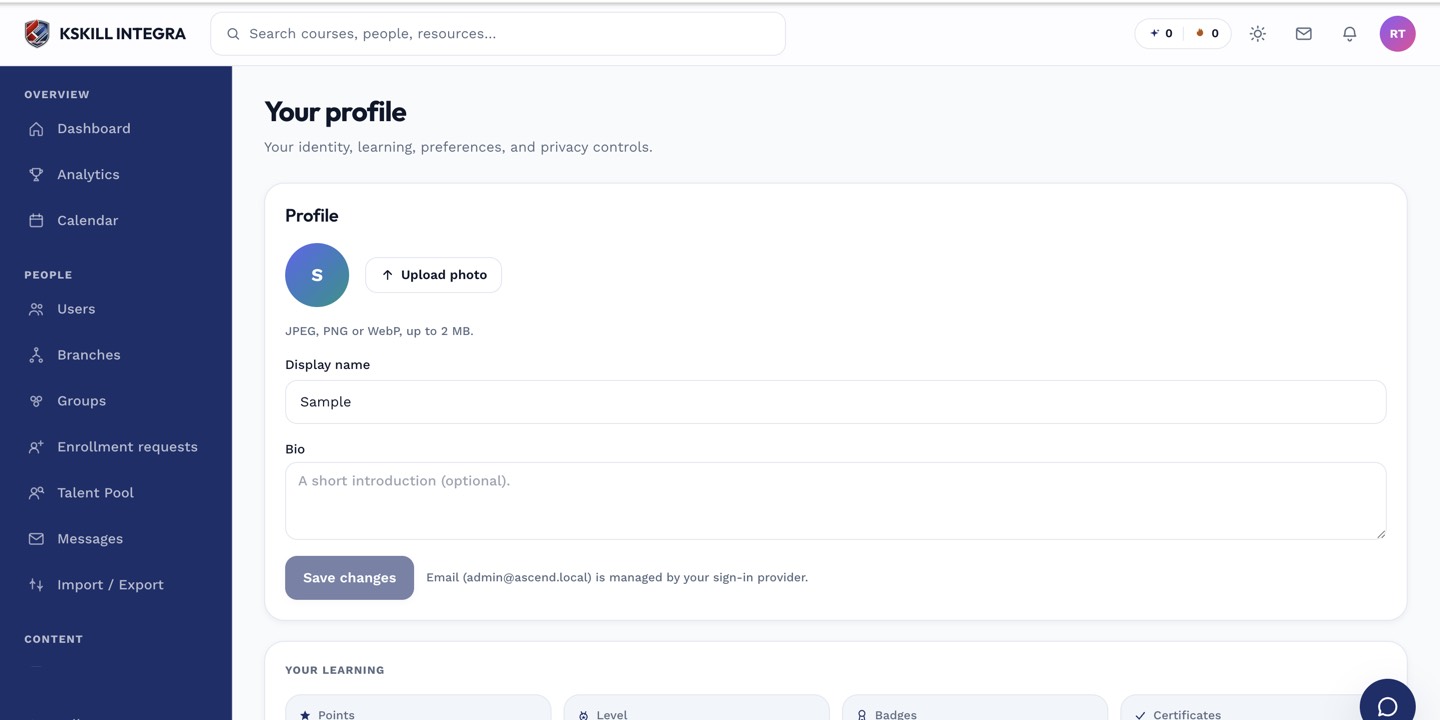
The account settings page is where a learner controls their own personal data.
Notes
- Every download is a fresh render — if the admin re-designs the template, your next download uses the new design.
- Expired certificates hide from your wall but stay in the audit log for the tenant.