Add course categories
Categories group courses in the admin list and the learner catalog. This article covers creating one and assigning it.
Before you start
You need the Admin role. Category names are tenant-wide — a well-named taxonomy pays off later.
Step 1 — Open Categories
Open Configuration → Settings and pick Course categories. The tree shows every existing category and sub-category. Categories can be nested one level deep — a top-level Compliance can hold sub-categories like HR and Cyber.
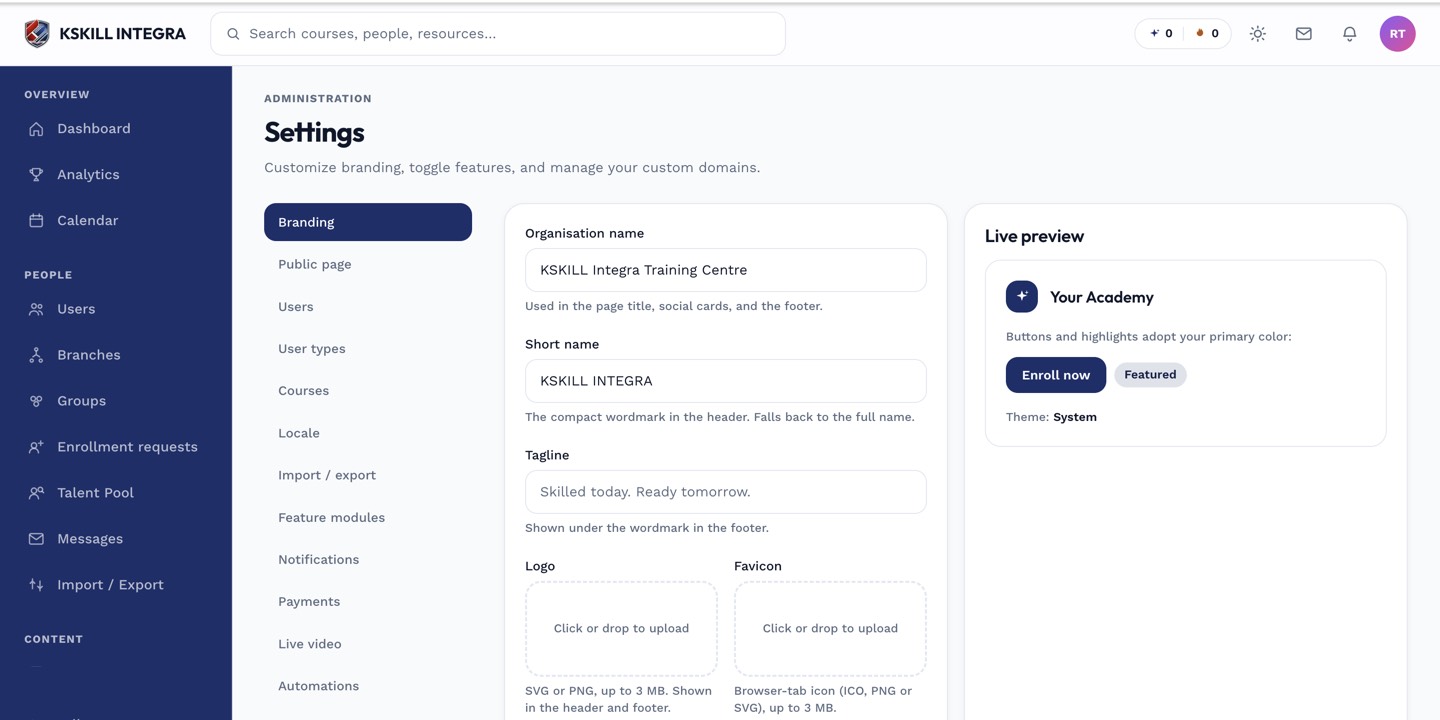
The Settings page is the single home for every tenant-level toggle.
Step 2 — Create a new category
Click Add category. Enter a name and pick a parent if you want to nest it. Save. The new category is available to attach to any course immediately, and appears as a filter chip in the learner catalog.
The Settings page is the single home for every tenant-level toggle.
Step 3 — Assign categories to courses
Open a course and open its options drawer. Pick the category from the dropdown. A course belongs to exactly one category — if you need a course to appear under two topics, use tags instead.
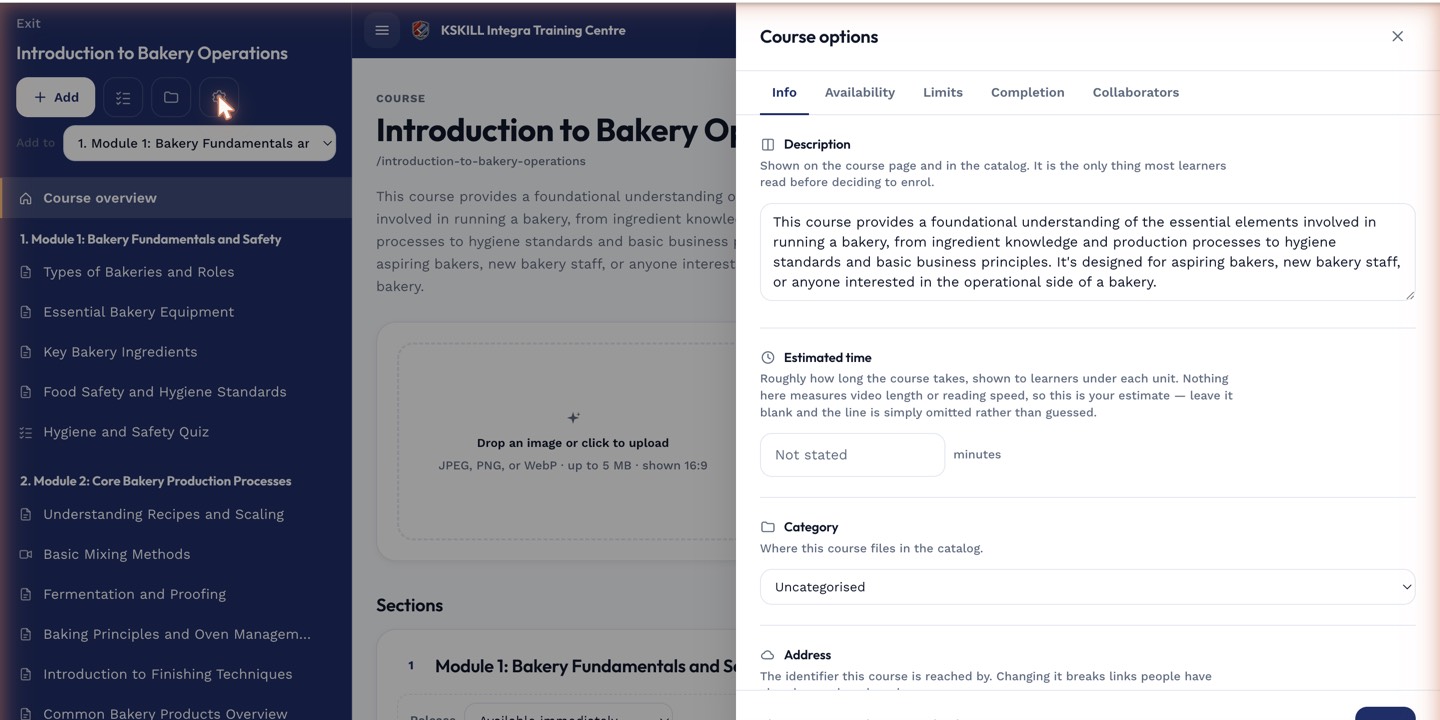
The options drawer is where every per-course rule lives — visibility, price, completion criteria, expiration.
Notes
- Categories are one-to-one. For many-to-many, use tags.
- Reordering categories under Settings changes the display order in the catalog too.