Certificate settings and branding a certificate
CoursesUpdated September 23, 2026
Every course can issue its own certificate design when a learner completes it — your tenant's logo, a course-specific title, and the fields you want printed on it.
Before you start
You need the Instructor or Admin role and edit access to the course.
Configure a certificate
- Open the course in the course editor and go to Course options.
- Find the Certificate section.
- Choose a template, or use your tenant's default branded template.
- Set the certificate title text, and confirm which fields appear — learner name, course name, completion date, and (if configured) an accreditation or credit value.
- Save. The new design applies to certificates issued from this point forward.
 Certificate branding pulls your tenant's logo automatically if one is uploaded in your branding settings.
Per-course vs. tenant defaults
Your tenant's overall branding (logo, color) is the starting point every course certificate inherits. Individual courses can override the title text and template on top of that shared branding, so a flagship certification course can look distinct from a routine compliance course.
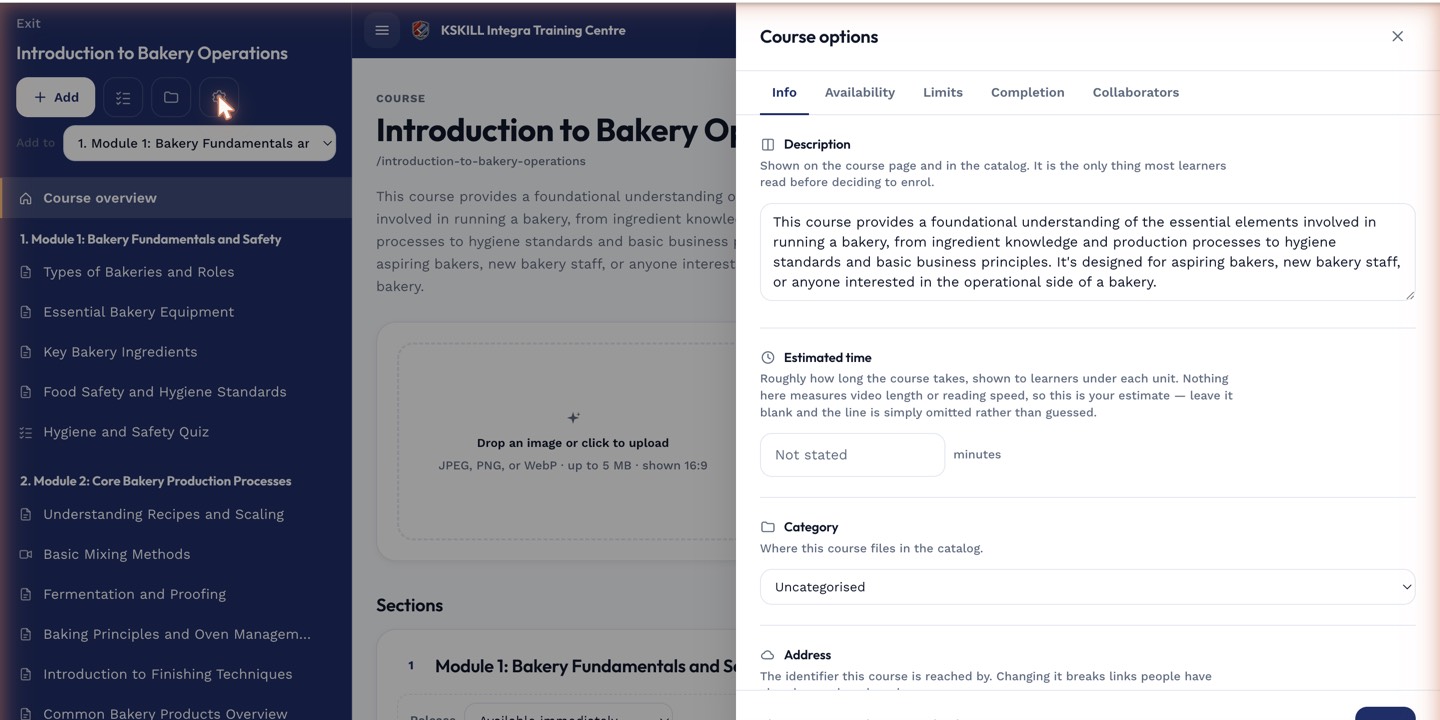 Certificate settings live in the same drawer as test settings, one tab over.
Notes
Changing a course's certificate design does not regenerate certificates already issued to learners who completed it earlier — only future completions get the new design.
What next?
#certificates#branding#courses#completion