Schedule a live class or conference
A live class is a scheduled meeting attached to a course. This article covers creating one, picking a conferencing tool and letting learners join.
Before you start
You need the Admin or Instructor role. The course must exist. Zoom or Google Meet integration must be configured if you plan to use them.
Step 1 — Open Conferences
Open Content → Conferences. The calendar shows every scheduled session across every course. Click New conference to open the drawer.
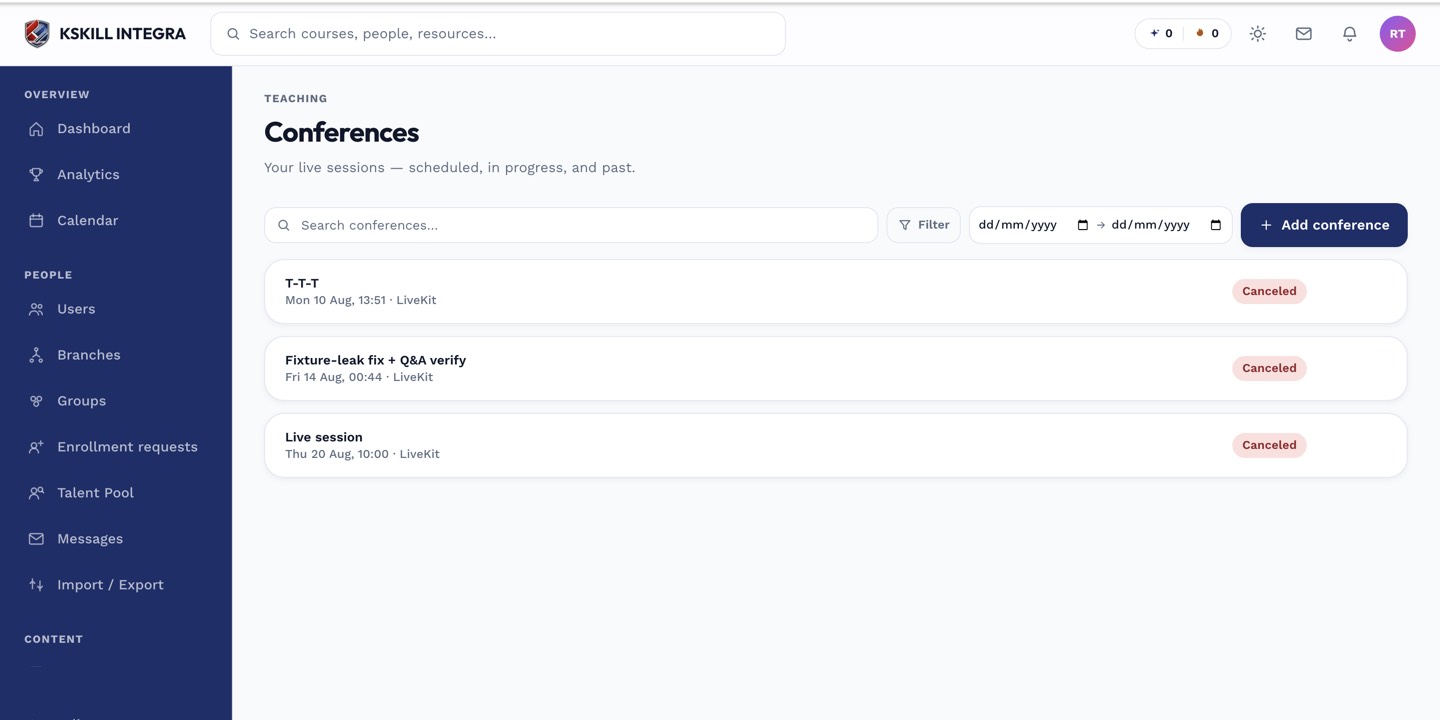
The conferences page is the calendar for every scheduled live class.
Step 2 — Set the schedule and platform
Pick the course, choose the platform (LiveKit built-in, Zoom, or Google Meet), set the date and duration, and choose who can attend — the whole course roster or a specific cohort. Save. The platform creates the meeting and shares the join link with attendees.
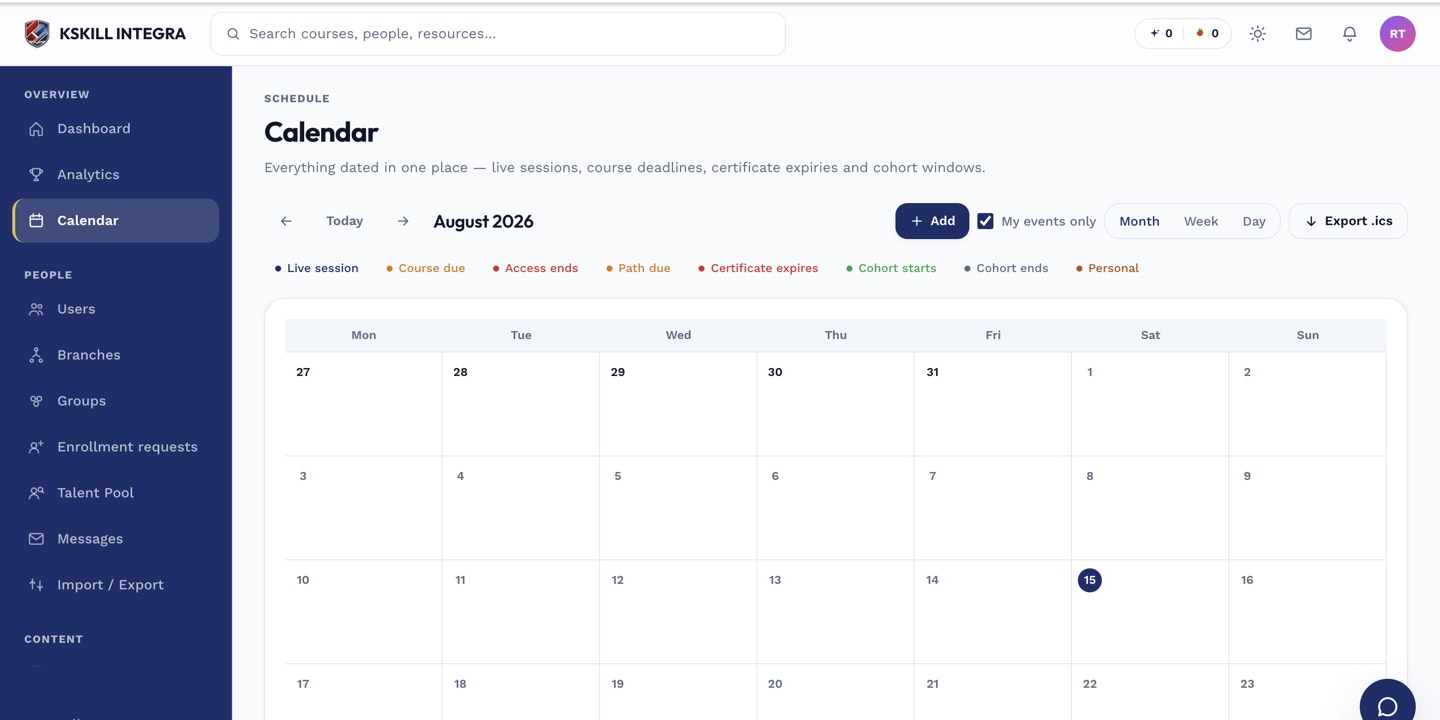
The calendar shows every scheduled live class, deadline and cohort milestone.
Step 3 — How learners join
Attendees see the session on their Calendar and get a reminder 15 minutes before it starts. Click the reminder or the calendar entry and the platform hands them a join link — LiveKit opens in-browser, Zoom and Meet open in their respective apps.
The calendar shows every scheduled live class, deadline and cohort milestone.
Notes
- LiveKit is public and needs no third-party account. Recording is on by default and lands in the course's Files tab.
- For external attendees, use Google Meet or Zoom — they handle unauthenticated joiners better than LiveKit.