Course pricing models
Courses can be free, one-off paid, subscription, or included in a package. This article covers each model and when to use it.
Before you start
You need the Admin role and (for paid courses) a payment provider configured.
Step 1 — Set the pricing model
Open the course options drawer and scroll to Pricing. Pick Free (no charge), One-off (buy once, own forever), or Subscription-only (only accessible while a plan is active). Save.
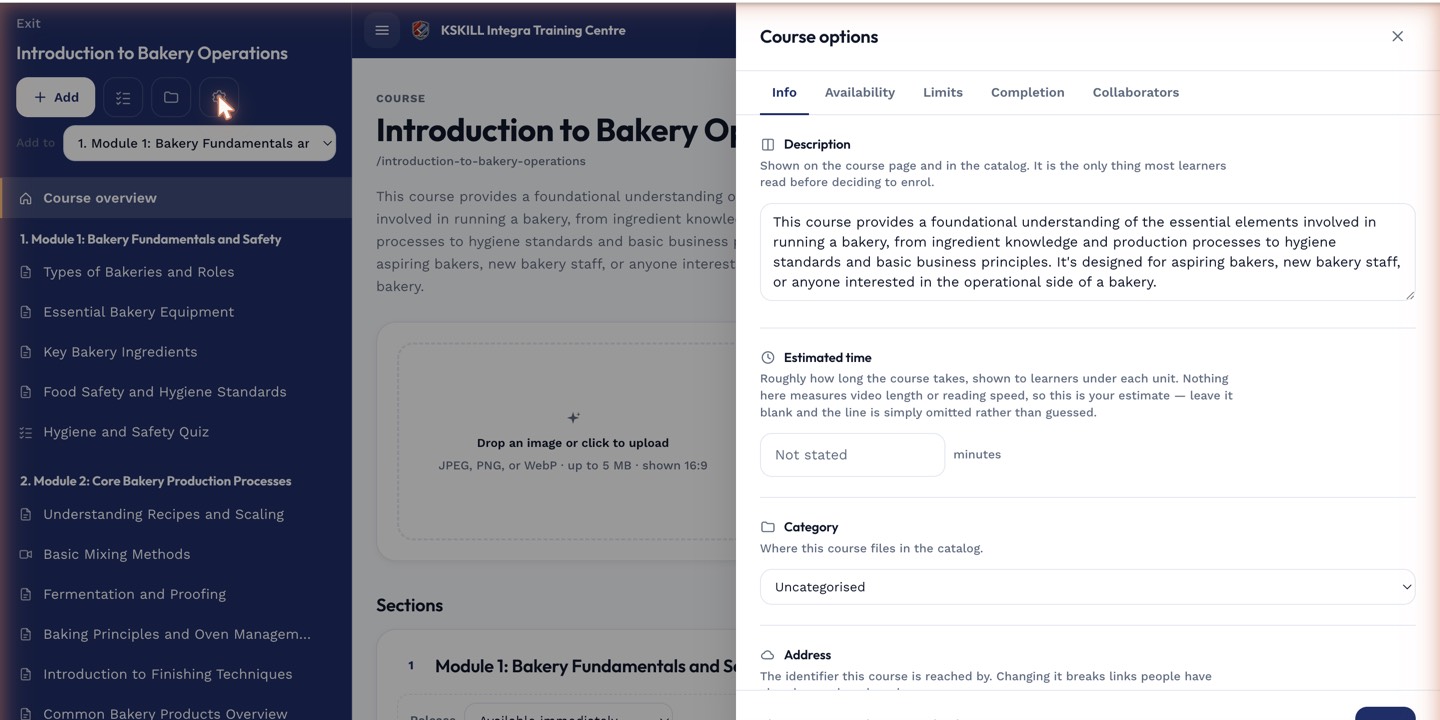
The options drawer is where every per-course rule lives — visibility, price, completion criteria, expiration.
Step 2 — One-off pricing
For one-off, enter the price per supported currency. Buyers see the local price at checkout. On successful payment the course auto-enrols them. Refunds are admin-driven from the Orders page.
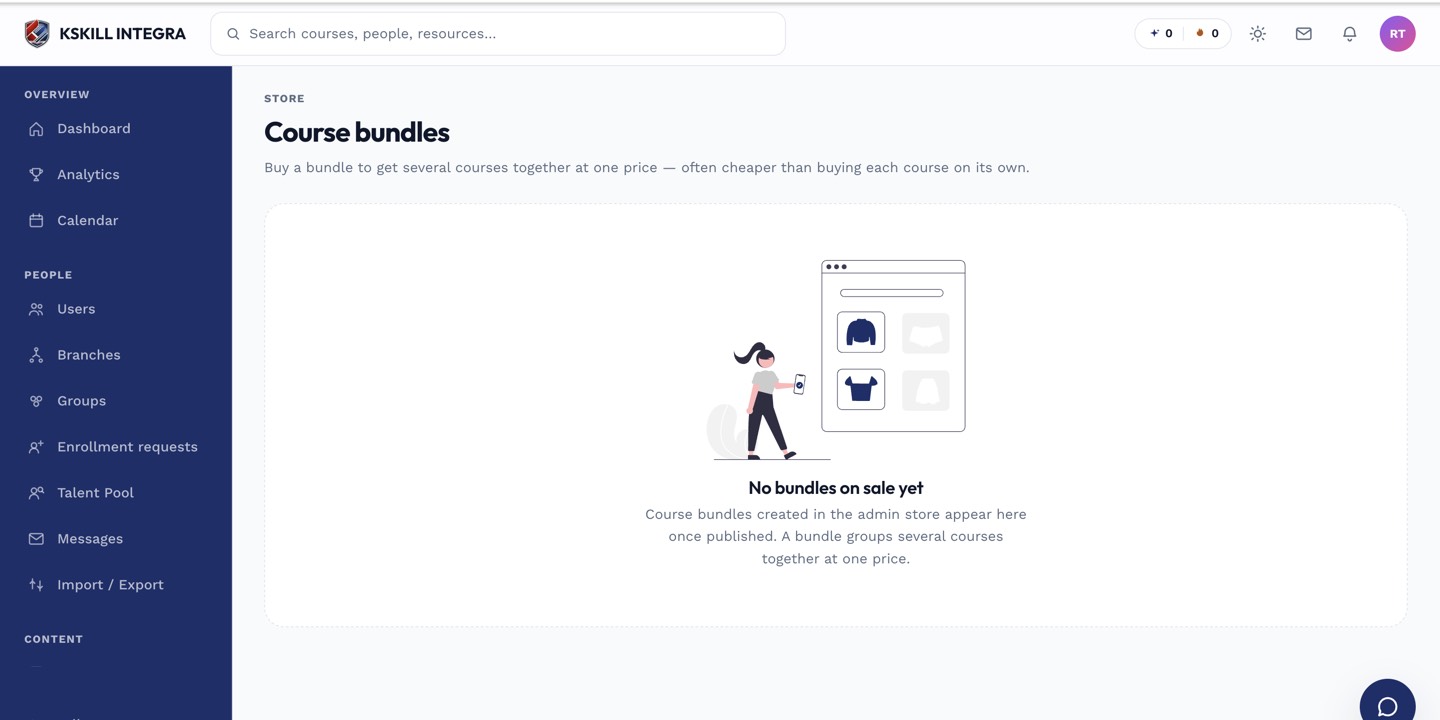
The store is the learner-facing checkout for whatever the tenant sells directly.
Step 3 — Subscription and packages
Subscription-only courses appear only inside the plans that include them. Package pricing is set on the package, not the course. Use this model when you sell bundled access rather than à la carte courses.
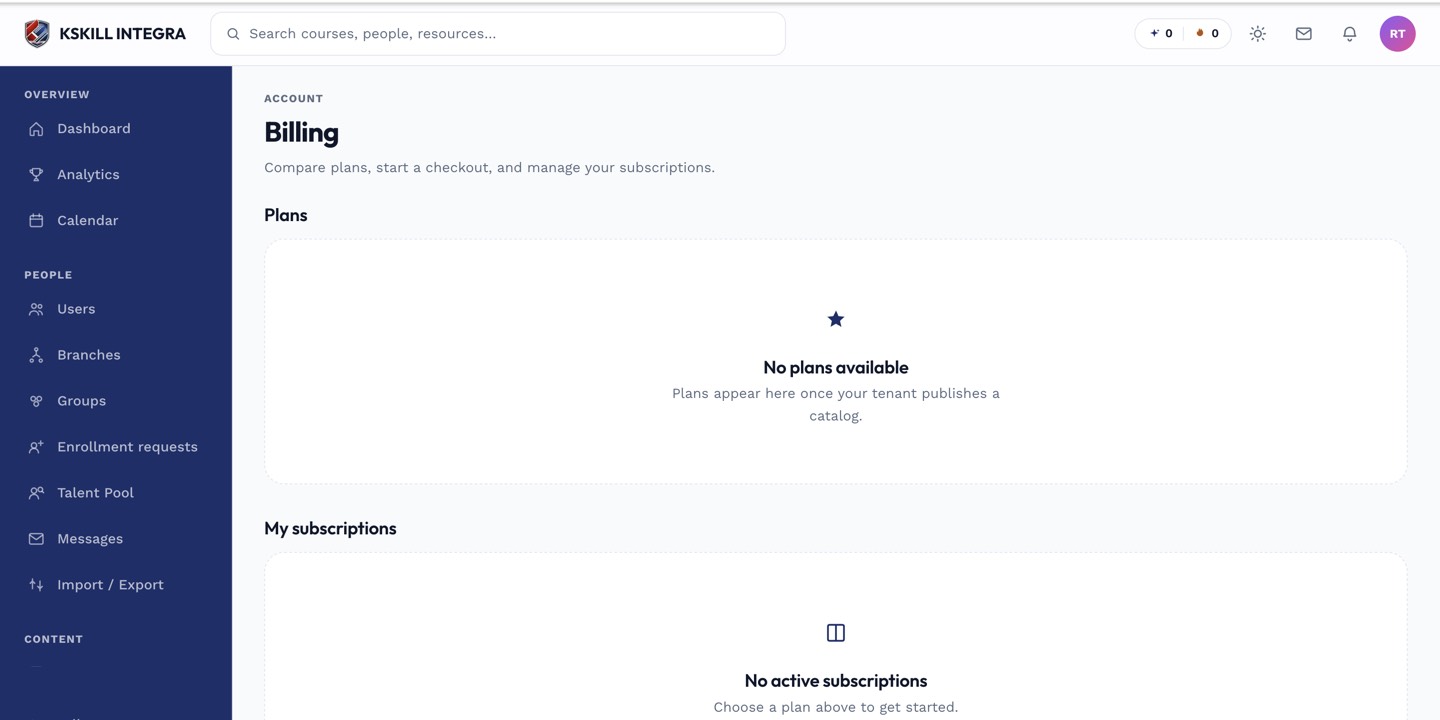
The billing surface reconciles what learners paid against what the tenant collected.
Notes
- Every price change applies to new orders only — existing enrolments keep their original terms.
- For per-branch overrides, use the branchPaymentSplit flag and set prices per branch.