Setting Up Deposit + Installment Pricing on a Course
Instead of charging a course's full price upfront, you can require a deposit followed by a set number of scheduled remaining charges. This lowers the barrier to enrol on higher-priced courses.
Before you start
You need the Admin or course-owning Instructor role, and Stripe must be your active gateway for the auto-debit part of installments to actually run — see how Stripe installment auto-debit works.
Configure the plan
- Open the course in the course editor and go to Options → Pricing.
- Enable Deposit + installments.
- Set the deposit amount and the number of remaining scheduled charges.
- Set the interval between charges (for example, monthly).
- Save the course.
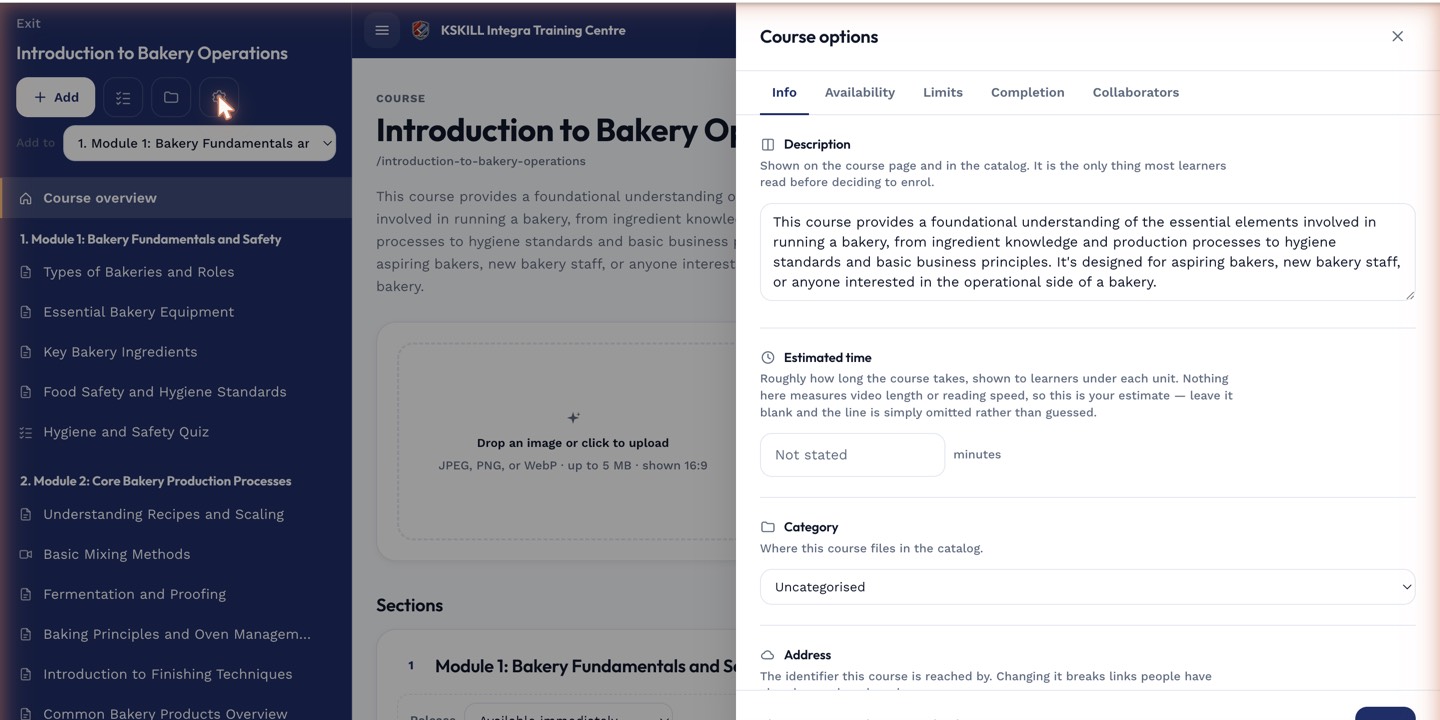 Deposit amount and the number of remaining charges are set per course, not per learner.
What happens at checkout
The learner pays only the deposit at checkout. On Stripe, that deposit checkout also saves their card for future off-session charges (setup_future_usage) — this is what lets the remaining installments be charged automatically without the learner re-entering payment details each time.
 Installment-priced courses show their deposit and schedule to learners before they check out.
Notes
Billplz doesn't yet support automatic recurring charges the way Stripe does — see Billplz recurring card settings. If Billplz is your active gateway, avoid installment pricing until that's live, or expect to collect remaining installments manually.